Fooling around with the wheels took a lot of time in the end, especially as I wanted to get some sort of a rubber rim -like effect painted on the edges of the wheels. All the pieces went in pretty nicely without a horrible amount of swearing. For a change... Too often they've ended up being in stupid angles or just plain horrible, but this time things went better before the big test: floppy single piece tracks (can't remember the correct name for them, for I'm used to calling them licquorice tracks myself). I twisted, bent and mangled the other end piece through a small hole in the other end. Pressed the ends a bit, glued and left drying overnight.
It ended up looking fine even though I was pretty worried about it in advance.
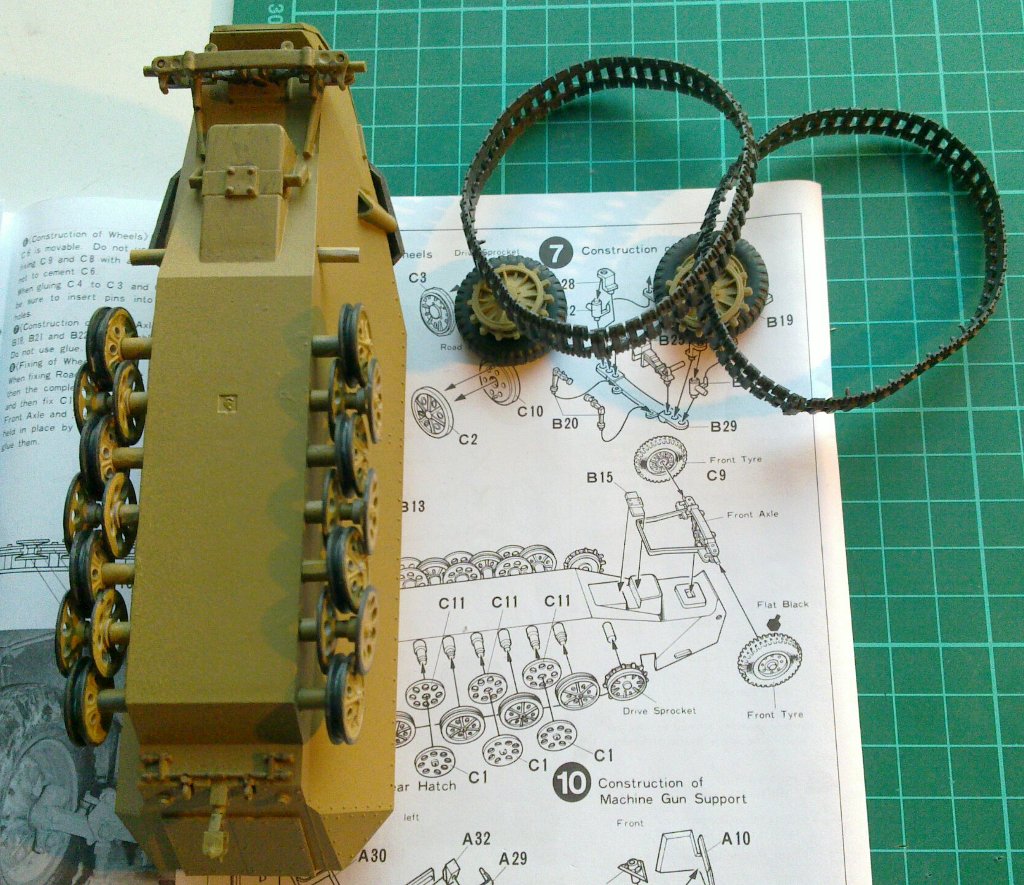
During the next day I drybrushed some brown color in the recesses and after a breather I drybrushed some metallic on all the highlightable surfaces. When I had decided that it was the time, I took a deep breath and took the bull by the horns. First I pressed the drive sprocket into the track piece, that went surprisingly well. It fit and all that. How unusual.
Next I applied some glue to the axle shaft of the drive sprocket and pressed it into its place while hooking the other loop of the track around the last drive wheel. All this happened quickly, effortlessly and nicely. After a short glue-setting break I repeated this on the other side, too. With equally good results.
I'm speechless.


Why complain when the usually hopelessly difficult piece works as it should - for a change?
As my following step I constructed the fenders with all the junk and knick-knack according to the instructions. Nothing strange or adventurous happened:

I put the fenders lying on one of the sprues so I'd find the best place to hold them. Then I anchored them with a short piece of tape on the other side and quickly airbrushed the top and side areas with Dunkelgelb. After a while I grabbed a corner of the sprue and painted the bottom sides as well. Of course I'll need to touch up later on the couple of patches that were blocked by the tape or shadowed by the sprue, but as that's on the bottom side, they'll be easy to just brush. Before they're glued to the hull, that is. Oh, and I guess I could try to weather them a bit with those pigments. Just in case.
Next time, in addition to the aforementioned part, I'll glue the pieces together and spray some lightened Dunkelgelb straight from the top to emulate sun's light somehow. Just like I planned the last time.
Of course a couple of Wehrmaht's Balkenkreuzen need to be painted on, the tools are to be painted and weathering needs to be done but otherwise it's almost done already.
Those small dudes are going to cause a couple of "errr.. eh?" moments, that I guarantee...
No comments:
Post a Comment