Mastodon

24.2.21

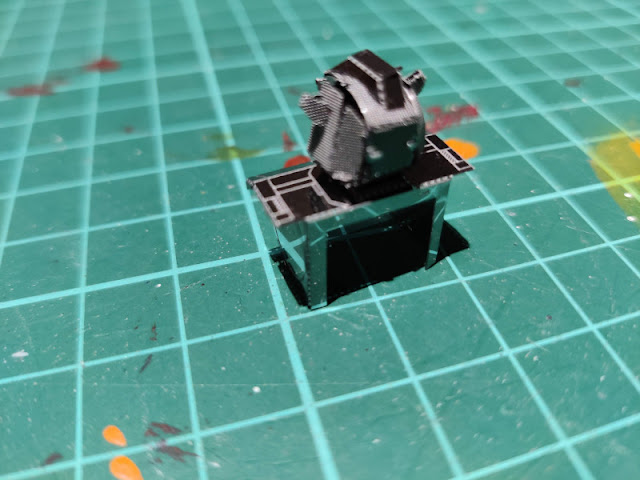
Partial assemblage: upper torso

The head and torso

Building Bumblebee started from the hat-holder department. As a kid I had somehow liked Goldbug's look more than Bumblebee's, but as these were matters of taste, there wasn't much to argue here. Again I had some difficulties preparing the curved surfaces without a handy item to roll against.

Bumblebee: head

His shoulders were very straightforward and his head fell onto the shoulders like it was set up that way. At this point the instructions hadn't told me to do anything in too complicated a way - yet.

Bumblebee: head on

Bumblebee: neck

Next I installed those half-arcs to the upper torso. Getting those in the proper shape was a bit complicated, because they were not to be circular in form, but something a bit less predictable. I managed, as the image below showed. The shoulder modules were to follow, they also settled in neatly after the arcs were done.

Bumblebee's shoulders

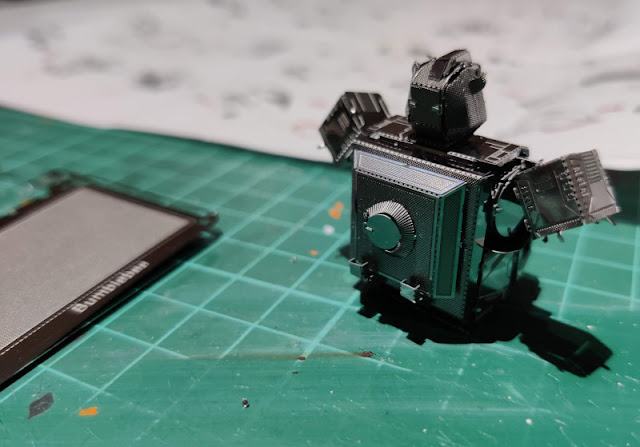
Bumblebee's torso was still missing his backpack and the chest, or the VW Beetle's passenger compartment. The side window frames were craftily protruding parts. Again the curved parts didn't end up perfect, which I noticed best afterwards, but I couldn't mangle them anymore after the installation because I'd just broken them.

Bumblebeen selkäkalikka

Kuplarintakehä

Getting the chest into the rest of the torso made me a bit nervous, because of the tightness of space available. My concern was proven unnecessary, it settled in just wonderfully and the back part sealed the subassembly like a puzzle piece. Nice progress here, only two-three sessions with all the random interruptions.

Bumblebee's torso

Bumblebee's torso: rear

17.2.21

Project II/21

VW Type 1

Following the traditions over the years, Santa added more buildables to my work queue. This time it was a Metal Earth Models' Transformers series Bumblebee, not the golden one but a normal steel grey. I believed that this was maybe the only model where a non-steel colour would've fit perfectly.

MEM Bumblebee

10.2.21

Finished: Project I/21

Ministatue

Lord Megatron was a lot of fun to paint. Based on a quick search there's a bunch of these unpainted -series figures, some of them interesting such as Starscream, Optimus Prime, and Soundwave from the second wave. Where'd I put them all? Well, I've thrown old builds away occasionally, away from collecting dust and eating space.

Photos

The usual normal photos taken around the subj.. eh, leader, still in suboptimal backgrounds and lighting conditions. That was something that was to be fixed sooner rather than later.

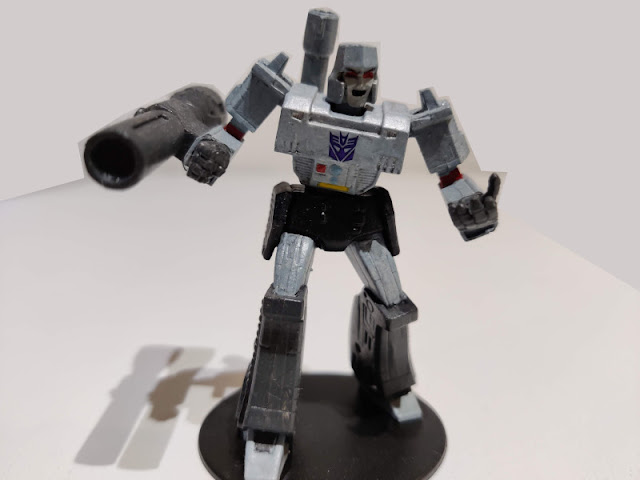
Finished Megatron: front view

Finished Megatron: 2/3 front view

Finished Megatron: left view

Finished Megatron: rear view

Finished Megatron: right view

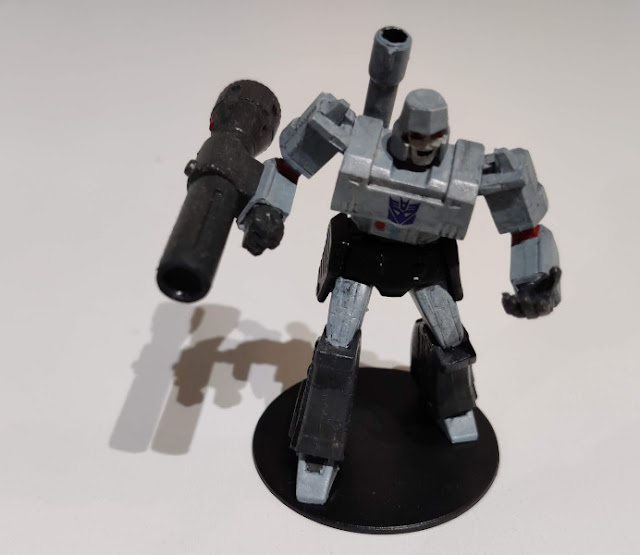
Finished Megatron: low front view

Silly pics

Of course I had to take some less serious photos with all my three Megatrons. I mean, I had used MP-36 as my model for the painting!

A group of Megatrons


3.2.21

Painting Megatron

Painting by the numbers

The default surface

I started by painting with the basic grey, because most of his body (or frame, him being a rohbut?) was going to be that. This was nicely paintable in one go, because there were enough !grey parts to hold him on while painting around.
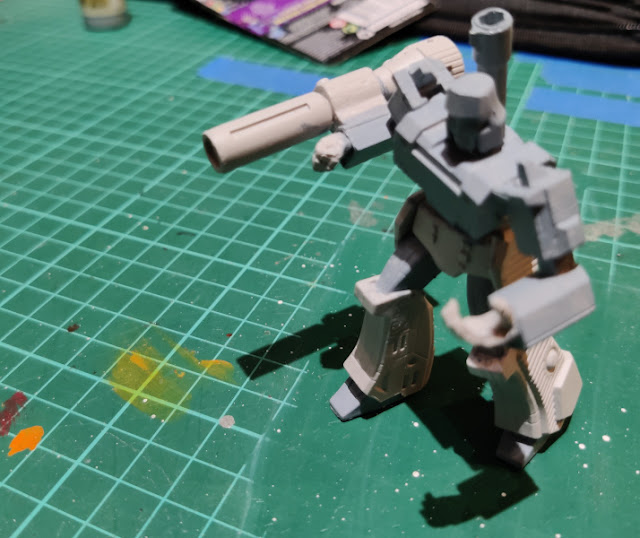
Basic grey surfaces painted


Basic grey surfaces painted

The dark greys

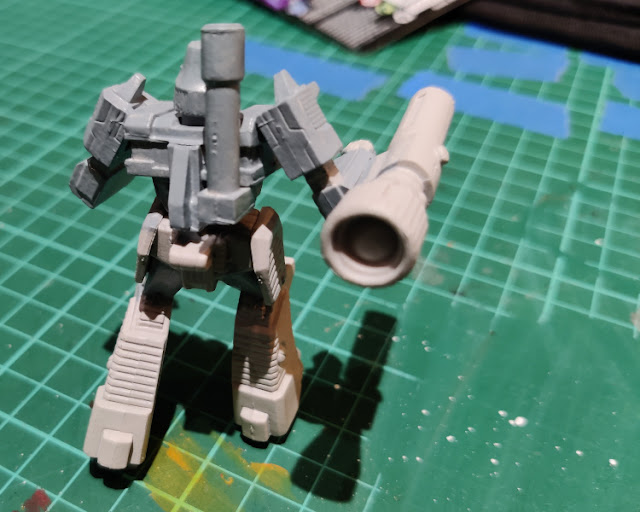
Megatron's arms, the Fusion Cannon and most of his legs were to be painted dark grey. I took this stage as my next one, as my process seemed to be "the bottom-most layer first", not totally unexpectedly. With the feet themselves I made a bit of mess, and had to fix them later.

Dark greys painted, front view

Dark greys painted, rear view

Blackness

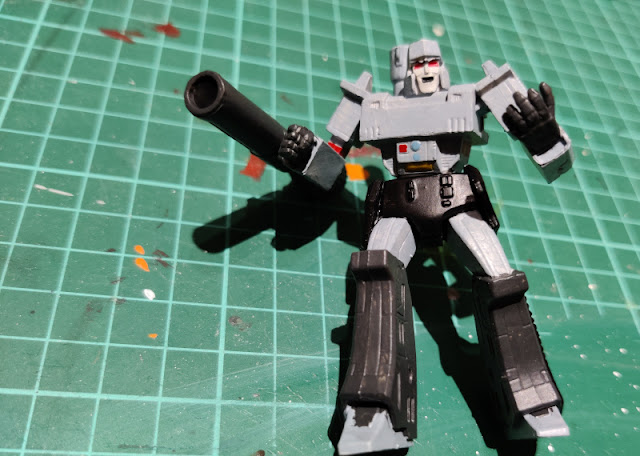
Originally, as stated above, I was going to do the black parts with German Grey instead, but the contrast difference between that and the dark grey was so small that after the first parts I redid those with flat black instead. It proved to be the best choice, silly me had thought I knew better. In addition to both gun business ends, Megatron's pants, the scope's lense I also painted his mouth and robotic unibrow. Before these I had done his face with a lighter grey, to give it a proper difference from the rest of the body and the head.

Black parts painted: front view

Black parts painted: rear view

Getting to the details

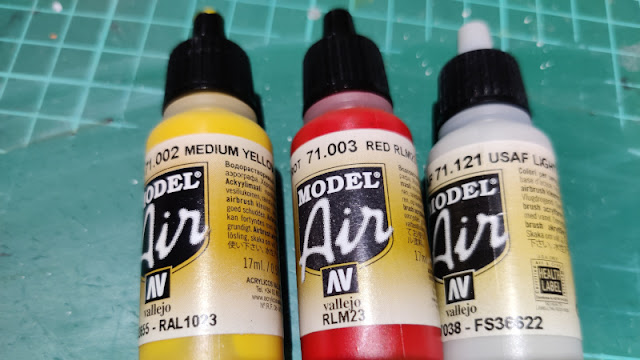
To complement the greyscale, Megatron had a few colourful spots on his abdomen: some blue, red and yellow bits. His eyes were also red and his upper arms had red bands, not to forget the red button on his Fusion Cannon. For some stupid reason I had some doubts about the upper arm reds in this scale, but as they worked fantastically in MP-36, I knew them to work here too.

Paints

Details painted: front view

Details painted: rear view

Details painted: the Fusion Cannon

Details painted: left side

Technically he was now done, except for the decal on his chest. I just wasn't ready to call him (or myself) done at this point.

Basically painted Megatron, backgroundless

More!

No, that wasn't enough. I wanted to improve the details according to my own madnes. As the first extra step I painted the eye-bit of the Fusion Cannon / scope's rear bit's edge to be more rubbery (VMA Tire Black) and redid the lens part with black. Megatron's gun mode's gun barrel's insides got a black layer and a follow-up with drybrushed Gunmetal.

Extra detailing

Extra detailing

Extra detailing

Megatron with a paint pot for scale

Megatron and paint pots

Final stage

Of course I couldn't leave this just on normal paints, because they looked a bit too flat to me. The greys I washed with the grey wash and the yellow/red/blue bits I coated with the satin varnish to make them stand out a bit differently from the rest of the body. That gloss varnish I only applied to the scope's lens.

The grey wash and varnishes

Varnished Megatron: front view

Varnished Megatron: rear view

A decal

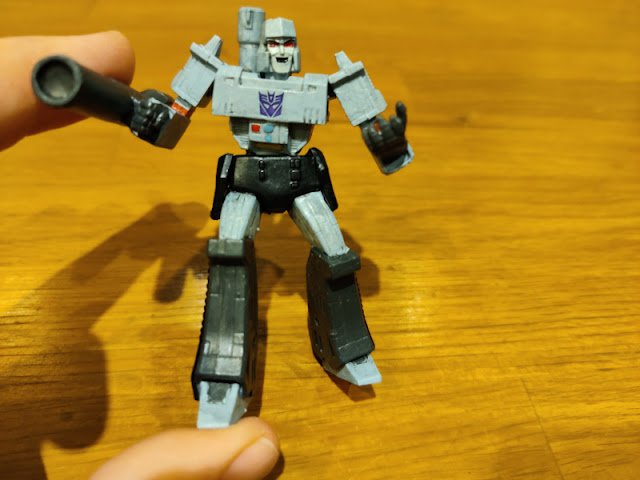
Obviously the more or less undisputed leader of the Decepticons had to have a roundel in the middle of their chest. So that's what I did: I applied one violet decal on Megatron's chest. This time I had no complaints about the decal work, for a change.

Finished Megatron: front view

Finished Megatron: rear view