More missing pieces found their places
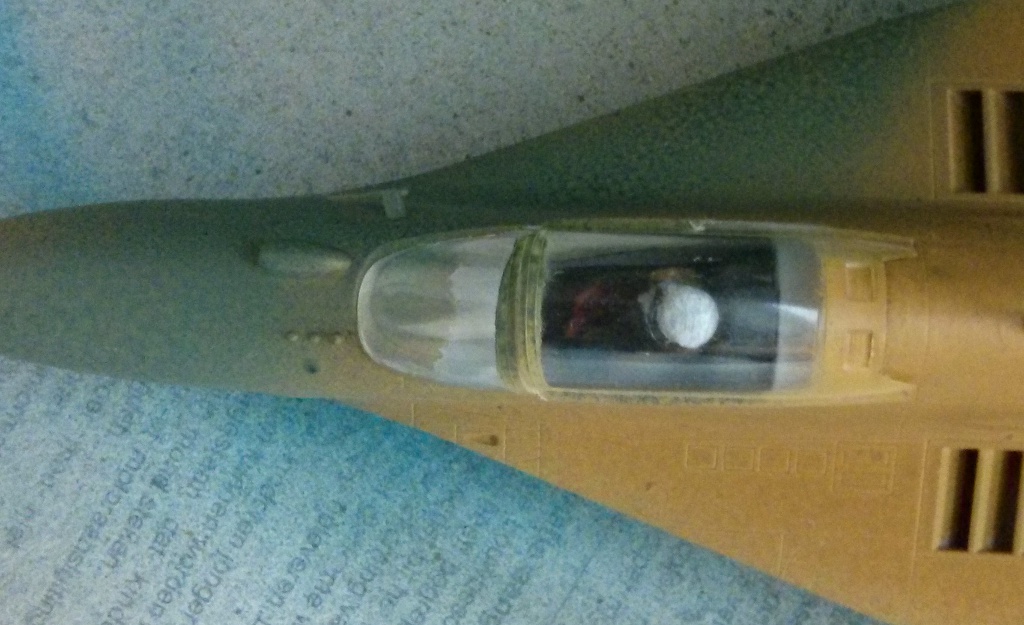
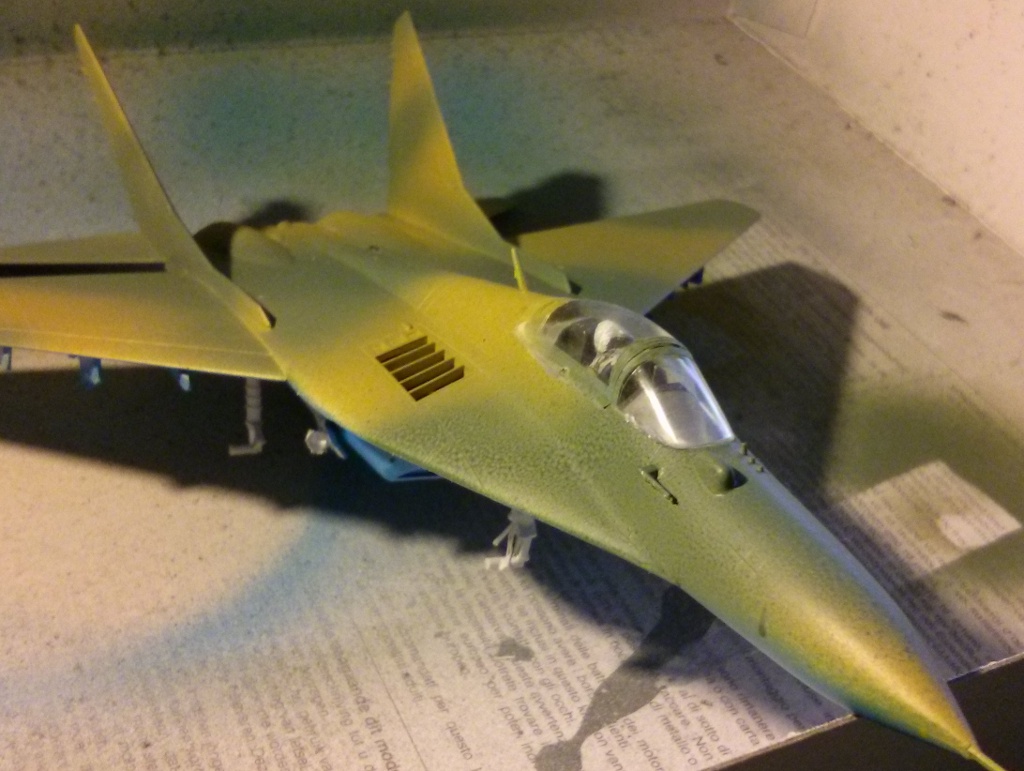
On the top side the last missing link was the cockpit. After I had checked that the canopy actually fits somewhere I went and painted the visible top parts on the inside with Vallejo's Cold Grey (iirc). Then I cut a piece of transparent plastic to use as the targeting thingamagick. In a perfect world that piece should be a bit rounder on top and have a couple of things plus a black top edge. I really didn't feel like ruining what I had done so I left it this way, simple. After the targeting glass pane had been cured, I glued the canopy in place with some white glue because I feared that the other types of glue would've either a) made a huge mess or b) fogged up the inside of the canopy, losing the transparency.
 |
| Does it even fit? |
 |
| Aiming thingy |
 |
| Set for good |
 |
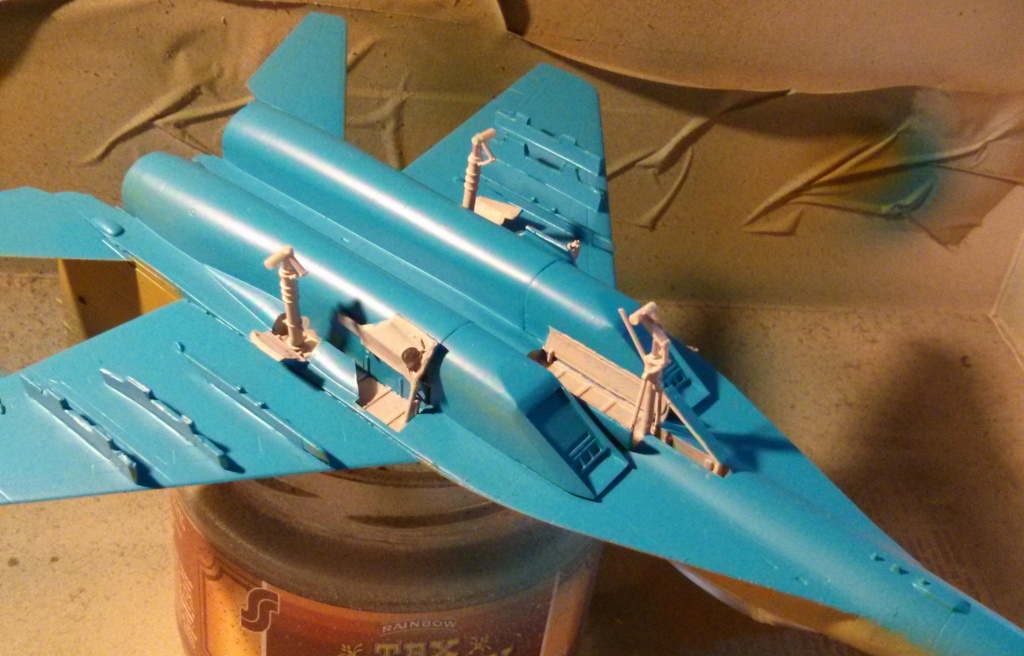
| Landing gear setup without the wheels |
Detailings
Now as things were supposed to be mostly done, I started painting some details. Of course I didn't get all done, but I've time and evenings. The nose got a newly coloured tip, Vallejo's Grey Black for the radar equipment. The surface area was decided by gut feeling and the online reference pics, so that it looked fine in my own eyes at least. At the same time I decided not to paint that black patch between the radard nose and the cockpit's front, because some references had it and some did not - my camo pattern didn't seem to require one.
Those ends of the engine nozzles got a quick layer of Vallejo's Oily Steel both on the top and bottom sides of the plane. Later I'll wash them with Citadel/GW's Devlan Mud. I was pondering and I guess I'll ponder a bit more still, if I should apply a brown wash on top of the whole plane or not... At the time of writing I'm leaning slightly on the "
let it be" side of things.
At some point I had set cables on the main landing gear, brake lines or something I guess (oh, enjoy my extensive knowledge about (combat) airplanes) is what they are. Then I fixed the paintjob on the landing gear wells with light gray, as the instructions guided me, but later I applied a wash of C/GW Badab Black to make them look both used and less standing out. A raw, bright gray is a bit awful to look at on a warmachine, I think, re: the previous blue pic above.
The wheels I first filed flat on one end, so that this damn plane would sit nicely on its place-to-be. After that I painted them with the aforementioned gray-black, because, as everyone knows, the traditional 0x0-black is a bit too dark to model any sort of rubber surface.
What else?
An unit number or similar needs to be painted on a side of the air intake, judging by the photos. After that a set of Soviet stars on and under the wings and tail wings at least, freehanded with white and red, as usual. I guess someone's going to scream against it, calling it a ruin of a good model. But that's one opinion. Personally, I'm so much more content if I freehand these things, for I've never really liked the transfers, especially as I don't use any laquers/waxes, they always shine stupidly. Oh, and the kit didn't even offer them, so I couldn't use them even if I wanted to.


No comments:
Post a Comment