Mastodon

29.5.13

Some light customizing

Madness is contagious

I'm afraid I've read too many articles in modeling magazines and online because these cases of "this is so wrong, I had to make a kiloton of details myself" don't seem so far-fetched anymore. My first example: there was a piece on the front of the cockpit's instrument panel that looked more like a lego cheese slope than anything else. I started by cutting it away and searched for some transparent plastic so I could make a better targeting device to replace that hideous mountain of plastic.

That's nothing, I think. Worse is yet to come.

A pilot and his workstation

This pilot was like a character who escaped from the Spaceballs with his ball-shaped helmet. The instrument panel just looks totally wrong. No, I wasn't going to rebuild or remake or even fix everything, because I'm no scratch builder, but something had to be done! First I painted some gray-black areas where my reference photo showed some shapes. More or less.
Then I dug out a piece of greenstuff and rolled it for a while. I slapped a tiny chunk on his face and tried to remodel it to look a bit more mask-like. The mask alone wasn't enough so I took a length of wire and inserted it on the side of the mask and the other end between the pilot's legs. From the rest of the greenstuff I cut away a couple of slabs and set them on the instrument panel to represent those dark things on the link above. I guess, when viewed from afar, you could guess they're some sort of instruments, even in this 1/72 scale.


After my almost five-minute long handcrafting session I was left with painting Ivan and the mf-displays. The guy himeslf got a coating of green, his helmet ended up light gray and the visor black. With the same black I covered the freshly installed instruments in the cockpit. Whenever I'm done with the ejection seat and the pilot I'll add the launching handles on the seat.  Being bright red they should be nicely visible to the outside. Oh and of course I have to add the seat belts as well (or whatever they're called in fighter planes), if I'm going for this much trouble!

For a while I've pondered if I should add some cables and stuff to the inner sides of the cockpit. Perhaps. The sides of the pilot's tub are pretty ascetic but I just don't trust my skills so much that I'd dare to start changing the whole insides based on some pics in the net. Maybe I'll manage to achieve something semitolerable in the end, when I have painted some kind of views to the MFDs and other random things to represent dials and whatnot. No matter what, a throttle handle is an absolute must!


23.5.13

Project I/13

Mig-29 Fulcrum

The kit I bought from last year's Model Expo has finally reached the top of my todo-heap. A good bunch of Iron Wind Metals' OmniMechs have been skipped and I fear they've been ignored for a few years already. Oh dear. Whatever has happened elsewhere, this piece of engineering is now under the spotlight. The Mig-29 is really an unusual model for me: it flies, it's jet-powered, it's not from the WWII era but it's still a thing from the real world.
Really, really unusual and rare, that's what this is.


The contents

When I opened the box my confusion was noticeable. I really couldn't remember that this individual was, to top it all, a peaceful plane without all the awesome toys it technically could have. Let's not allow that to bother us, I wasn't going to touch those transfers in any case and the paintjob can be whatever I want (and can) conjure up. The bomb racks, missiles and other pretty and useful items will be left for others.


For a short while I thought of assembling a flying model but as you can see in the photo above,  there are about twenty pieces. So if I skipped the landing gear, there'd be even less to build. Whenever we get that far, we'll see what I've decided.
Stay tuned or don't!

14.5.13

Completed: project III/12

Final mumblings

At long last this NZ TD is completed. What were my finishing touches? I applied from my Tamiya Weathering Master set some "mud" pigment to the lower parts of the model, then to the general middle and top hull some "sand" and finally, mostly all around an amount of "dry sand". Somehow I felt this was a better approach than washing the whole model with black or brown.
This project took quite a long while if you look at the calendar. Counting the hours worked brings us to a much lighter workload in the end, even though I can't pull a decent number to give a decent estimate, even. If we agree that it was more than nine and less than twenty four hours in total, I guess we're more or less there. Maybe I should actually check how long I exactly work on a model (or a couple of them), to have a clue, just to see how it goes.

Final pics

Here's a set of pics, from various angles and various settings. The background is, again, instead of cardboard boxes and my workspace,  a Battletech map. Complaints and feedback are always welcome, I just refuse to promise or guarantee any sort of change in my ways of working ;)


10.5.13

Some more tinkering

Washing and rope tricks

The hectic week has set its own boulders on my path, either slowing me down or even stopping me. Mostly I've just applied some washes and hung those jerry cans to the back of the turret. What do you mean it's not a good place for fuel? I never said it's a smart place but that's where the crew set them up. You can't blame me for that!


What else is missing?

I tried to apply some muddy goo splashes on the lower hull, but maybe the deck, the turret and the front could use a bit of some crap applied on them. In addition to those, I believe that the sides could benefit from a bit of sand-like pigmentation. After these things I can't recall noticing any real things missing, so maybe this project is finally getting finished.

2.5.13

Model Expo 2013 IV

Other posts

Part 1, part 2, part 3

The fascinating world of Lego

The curious people of Palikkatakomo had been at it again. The city seemed to be quite a lot larger than the last one and at least as hysterical. Photos (mine at least) don't do it justice... But let's begin with the other stuff first.
Sorry, people of Palikkatakomo, I only now realised that I had forgotten to add the link // 23052013

Individual MOCs

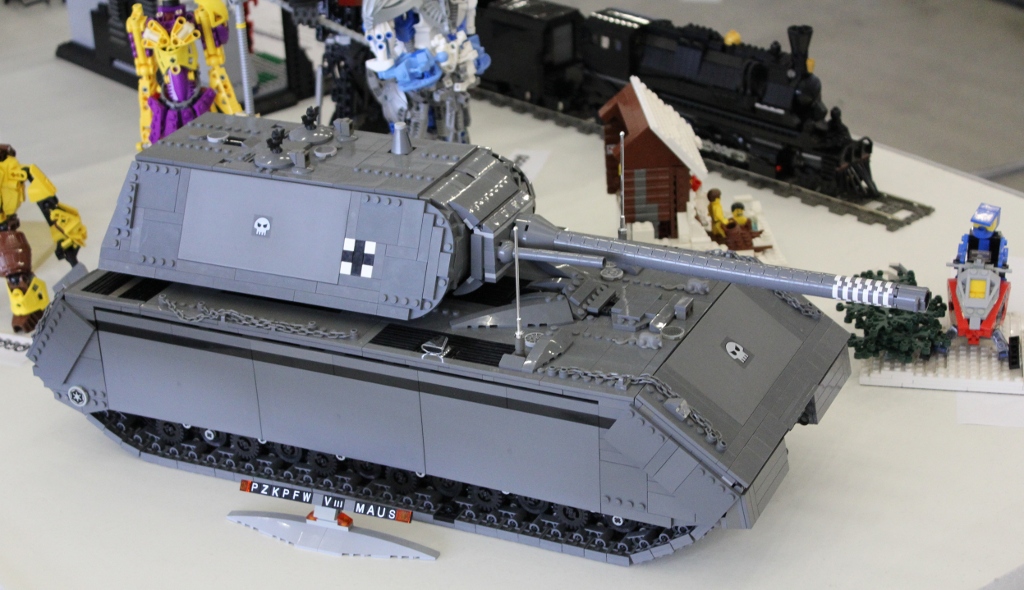
There were also a few individual creations, here's a sample of them:


My guess: PzKfw III, Tiger, KV-1, PzKfw II, Marder


The city

If my poor memory doesn't completely betray me, the Palikkatakomo people declared this as the planet's biggest lego city. I don't dare to doubt them and their claim.
No matter what, this thing is just sick. Sick in a good way, of course, I have to add so that no one thinks I'm laughing at someone else's hobby. On the contrary, I heartily approve of this!


Eläkeläiset


An archeological dig site


Obelix and a barrelful of magic potion


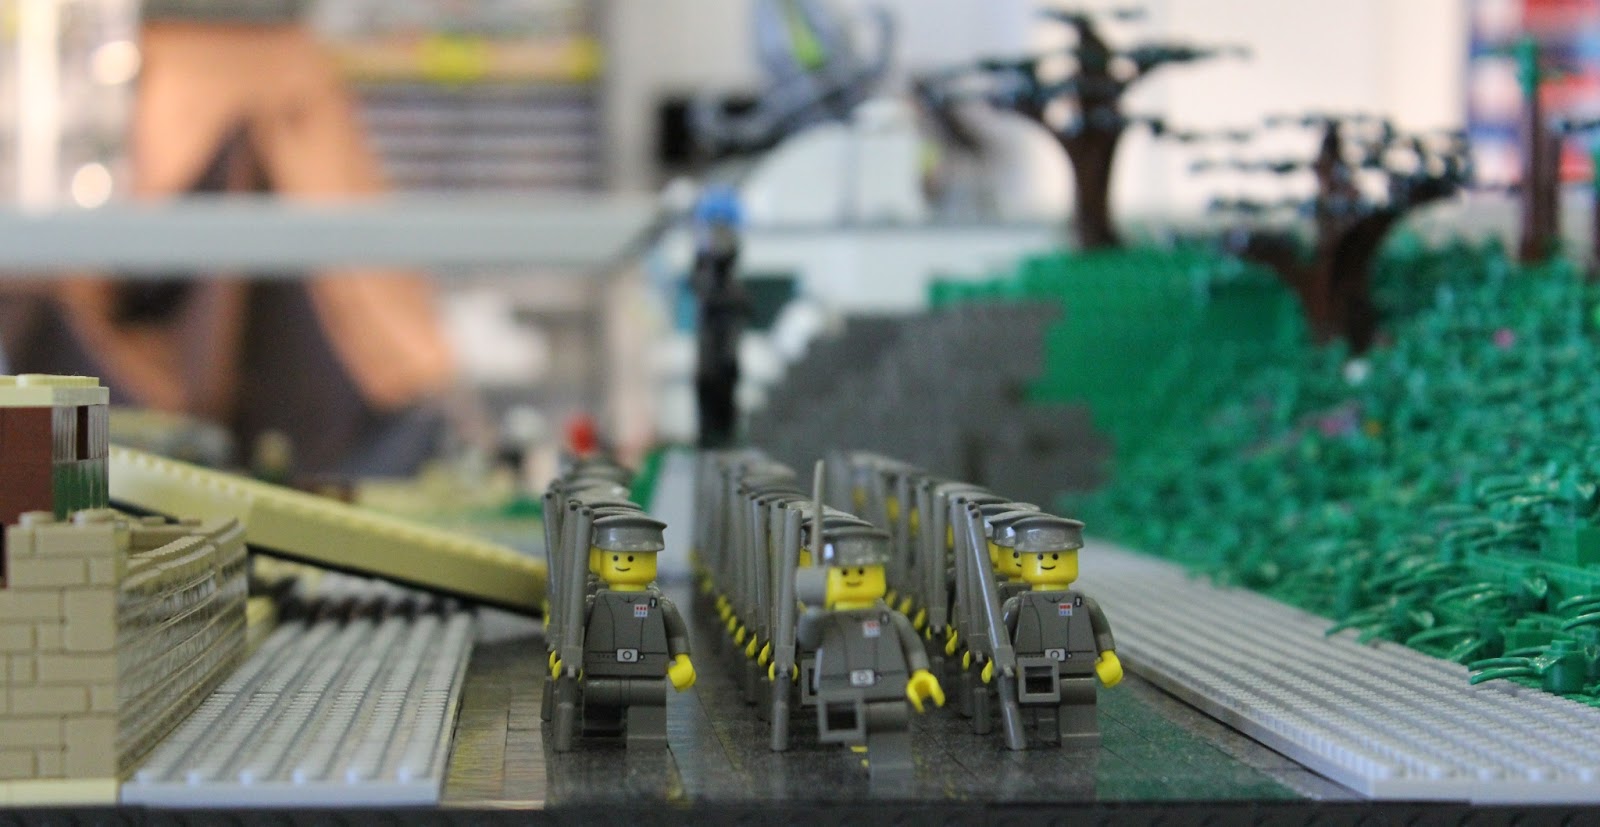
Goose-stepping


The two-meter tall Daily Planet office complex


Trying to reach 88 MPH