The brushing stage
Now I had reached the paintbrush stage. Or at least I had never felt confident enough to do all this with an airbrush without wasting half a kilo of masking tape and an eyewatering amount of time. So: handcrafting called me.The gun barrels were the first ones to be touched up, as some bits of them hadn't gotten a good coverage after all, you could see few patches of the primer showing through. Pah. After that I painted each LMG end poking through with plain black.
Tooling
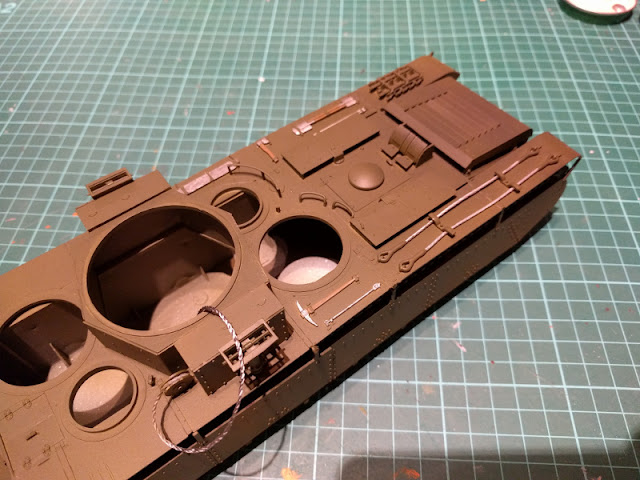
After the turrets I turned my sights towards the engineer's equipment and such. First I painted the insides of the lamp cupolas on the front, the iron bars (on the right side, next to the shovels) and the towcables with steel (VMA 71065 Steel). The rest of the metal parts, the shovels, the sawblade, both pickaxes and those somethings with oily steel (VMC 70865 Oily Steel). As I still remembered I touched up the LMG barrels a bit with the same paint to bring out the shapes a bit.To complete the first session with the tools I painted the wood bits with light brown (VMA 71136 IJA Earth Brown). Ages ago I read an article where someone made his wooden parts look realistic by drawing the lines of the wood with a pencil. I kinda didn't think I'd ever be up for that. My apologies if I have rambled about this before, I know it may not be the first time. Nor the last.
Tracking, tracking, tracking...
I pondered unusually much on how to approach the caterpillar tracks this time. After the airbrushings they were still dark, but obviously much greener than what I needed. So I slapped on a layer of black with the intention of keeping that as the base, but didn't worry too much. After letting the black paint dry for a while I overpainted all of that with my brownish mix (VMA 71040 Burnt Umber + VGC 72011 Gory Red, this time I didn't add any orange). |
| These tracks are still waiting for their brown-red layer |


