Third session
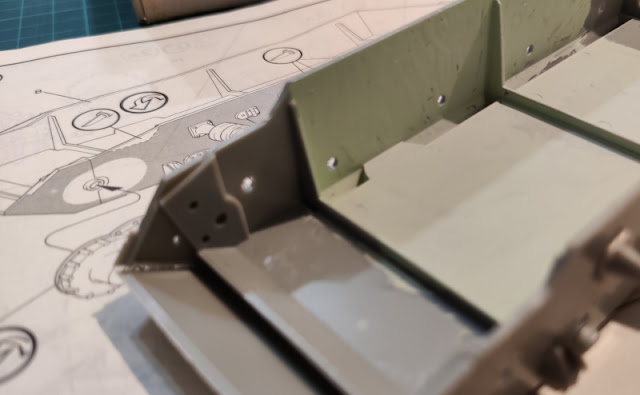
Now that I found one of my pin vices I could proceed with the rear armour plate. Or punching holes through it, as the remaining pieces for this stage required locating holes for their pins.
Rather excitingly 66,666...% of the freshly drilled holes were left to wait for a bright future. As long as the instructions were up to date, I was expecting zero problems with these.
An effect test, again
Next I cleaned up the lower glacis plate for installation. Based on the recommendations of a couple of colleagues, I had listened to some episodes of Uncle Night Shift in 'tube and while that guy was taking his processes to a few levels further, some of his ideas sounded plausible for me to try even if I wasn't going to try all of his ideas. One neat little thing I saw in one of the first clips I saw: making/improving the flame cut markings in the armour plate edges in the jigsaw-puzzle -like joints using a hobby knife (and then toning it down a bit with a quick and simple dash of liquid cement).
Just to be kind of safe, I started with one section only. The result looked neat, and it didn't take much time at all. At this point I didn't play with the liquid cement and postponed it to a later timeslot.
At least based on this test on the lower glacis plate the results were nice-looking and a pretty hassle-free thing to do. How that affected the full model itself remained to be seen.
Lower hull work
Now I glued the front- and rear armour plates into the bottom hull. A good amount of the suspension setup got also installed, the road wheel spring housings were still waiting for their turns.
What in the Empire had been done next to this model, as the bottom of the model was that splashed?


