Leopard 2A6M
My Project Assistant felt like she needed a new tank to paint. Naturally we went for a bit of model shopping, that wasn't quite as successful as I had hoped for. In the end we popped by the local supermarket's toy department as our last hope. I started reading out the names of the five kits. The word "
Leopard" had barely escaped my lips when she had already grabbed the packet and was declaring "
I want this one". Daddy's girl.
The eagle-eyes among the audience may have noticed the left edge of the box and how it carries the name logo of Krauss-Maffei Wegmann, the company that manufactures the actual big cat on tracks. I assumed that this Revell kit was properly licensed and therefore a very decent model.
Quick assembly
I didn't rush with the build but spent a few evenings on it. Most of the tiniest and flimsiest details I skipped altogether as I knew that she'd be playing with this and those would most definitely not survive such life.
Revell's idea for the tracks was itneresting: two long bits per side were to be softened up in very hot but not boiling-hot water and then quickly bent into shape. Want to guess how well that worked out? I replaced the useless pieces with a more play-durable approach: tactically opposite and offset strips of masking tape of a handy width. Of course these tracks weren't true to scale in their thickness but they settled in beautifully and they'd also survive being driven around the floors, sofas and whatnot.
First I measured good lengths of tape, dry-fitted and fine-tuned a bit. As soon as the tracks (bands?) were just the way I wanted them, I dabbed a bit of white glue onto all the contact points of the roadwheels etc so that my tracks wouldn't fall off accidentally.
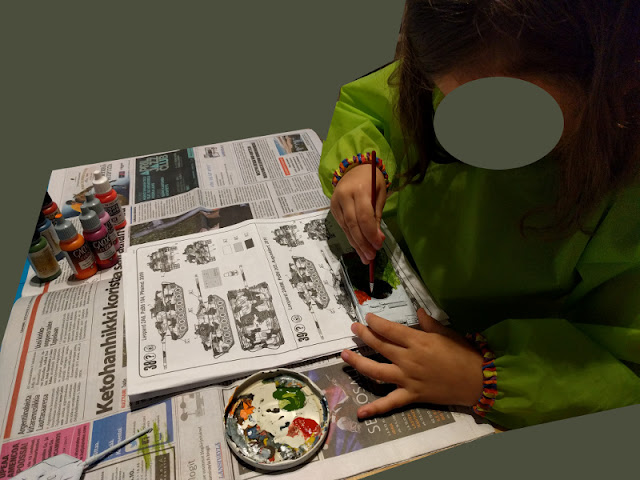
Slow painting
The model was primed simply white. After this I released it to my subcontractor, who also happened to be its owner.
As the muses were not too reliable, the painting process was shot around the calendar and took three sessions. But there was no sense to try to force or coerce a four-year-old to do anything like this when she didn't really find it interesting enough. I just asked occasionally "
would you like to paint your tank today?" Just like the delightfully positive Bob Ross said: "
Painting should never be hard work. Painting should be fun."
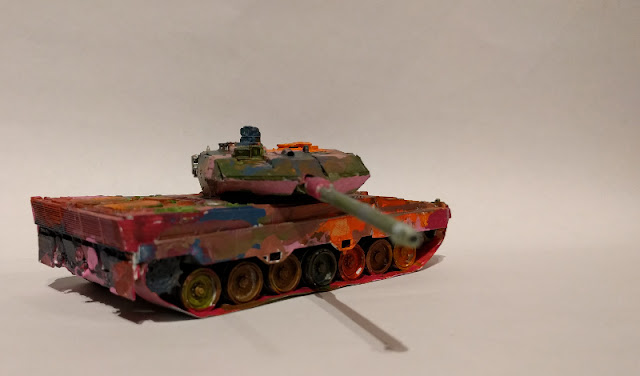
From some angles the tank looked as if the driver had gone at full speed into a patch of blueberries and kept rolling there with great happiness. The excited painter sometimes mixed all the paints together and was a bit confused when the result was brown instead of a custom rainbow. I guess it'd been fun to paint rainbows etc that easily but paints don't quite work that way. We'll be iterating this discussion a bunch of times in the coming years...
And these were the paints that were used in this, should I say unusual, painting process:
VMA 71065 Steel
VMA 71111 UK Mediterranean Blue
VMA 71094 Green Zinc Chromate
VMA 71085 Ferrari Red
VGC 72013 Squid Pink
VGC 72014 Warlord Purple
VGC 72008 Orange Fire
VMC 70733 Orange Fluorescent
All systems ready
When the artist had done with all her last touchups and modifications on the patterns at the last moment, it was done at last. I checked repeatedly if she wanted any decals to be used but the answer was consistently a stern no. To finish everything up I applied a layer of matt varnish to make it maybe a bit more durable for the playtime adventures.
I just have to quote the artist herself: "
This is a fire tank. It brings fire. In the colours of the rainbow!" A rainbow-like set of more or less concentric arcs did appear on the rear deck of the tank at some point, but you wouldn't know it if I didn't tell you that. Or you couldn't tell it even then. Of course I was very pleased with the Flammpanzer idea, she indeed is daddy's girl :)


