A tight set of steps
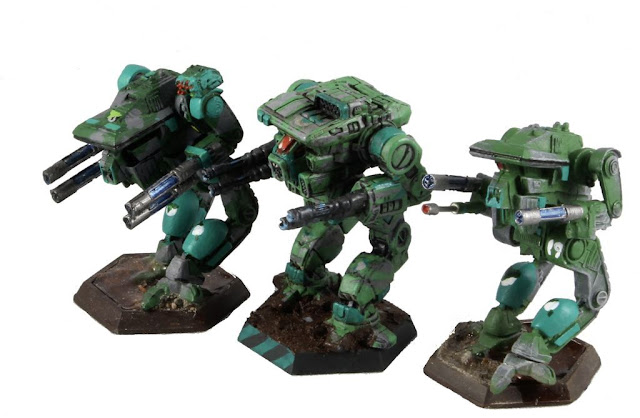
I managed to use two consecutive evenings to work on some pretty visibile subtasks of this project. The pin wash bound the paintjob together a bit, and after that I did the glassware. While I was on it I did all this in one good stint with the extra drybrushings that I felt they should be shared in this one post instead of splitting them apart.
Sepia wash
Nothing fancy here. I made my thin oil wash, applied it all over my 'Mechs to make them look disgusting. After a bit of drying time I cleaned up the worst, moving the shadows into corners, pits, and other naturally darker parts of the hulls. Then I left them to dry for some more time, to have them ready to accept some more acrylics.
Jeweling and jump jets
Before I started painting I doublechecked what kind of gear they were supposed to have. I only remembered Warhawk's loadout and I didn't want to rely on my memory or uneducated guesses based on the shapes of the miniatures.
Turkina:
- 2x LB-5X @LA
- 2x ER PPC @RA
- 3x JJ @LT;CT;RT
Ebon Jaguar:
- LB-5X @LA
- ERMLas @LT
- LRM-10 @LT
- SRM-2 @RT
- Gauss @RA
Warhawk:
- 2x ER PPC @LA
- LRM-10 @LA
- 2x ER PPC @RA
Stage one: lenses and cockpits
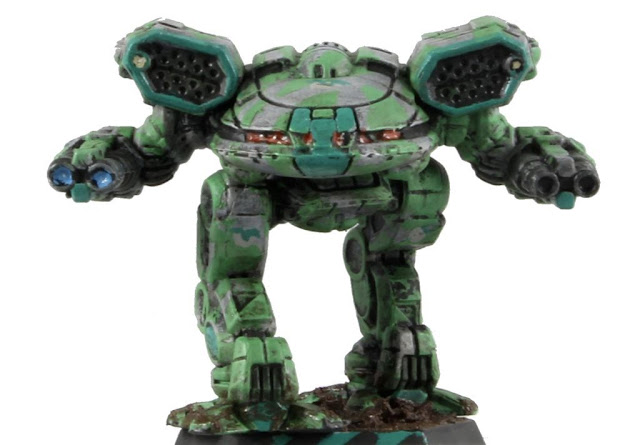
Turkina's Right Arm ER PPCs I painted with the Electric Blue and its lighter shades as I've been doing lately. Unlike on lasers, I aimed to get the brightest points towards the center of the barrel. This time I also painted some gently thinned EB to the tiny slits in the barrel for a bit of a glow. I used the same shades on the Jump Jets while I was twisting the mini in my hands.
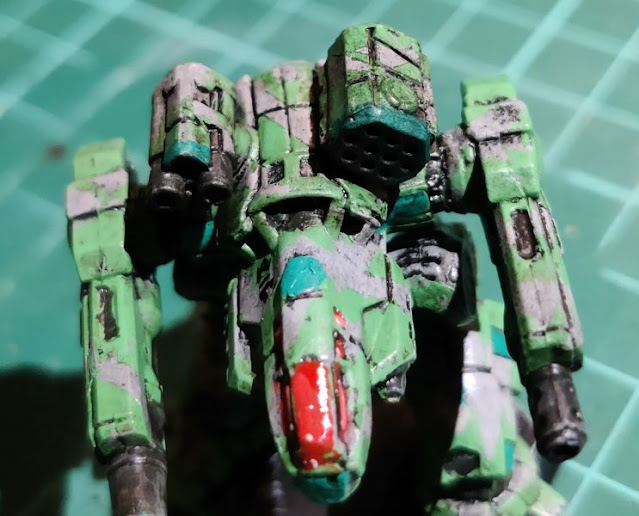
Again no surprises were coming, the cockpit viewport bits got painted red. My lighter shade could've been a bit darker but maybe it looked weirdest at this short distance.
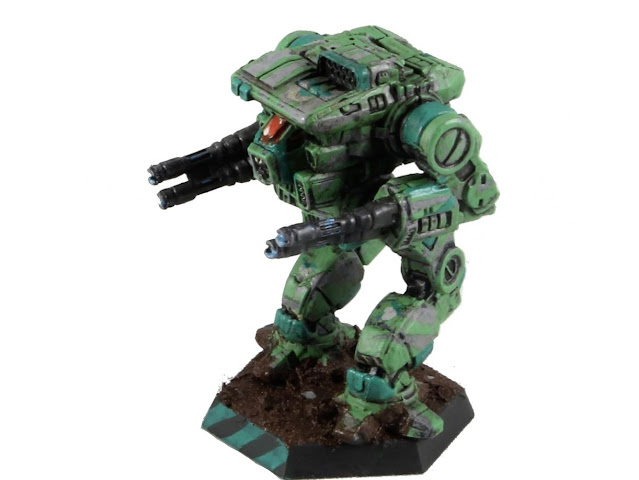
The Ebon Jaguar only had one energy weapon, so it was pretty quickly done. The ER Medium Laser's green felt like it was a bit difficult to get nice this time, they had been the best ones before.
Warhawk was pretty simple with only four barrels to paint in the same way, and just three easy-shaped and -positioned viewport parts. Encouraged by the Turkina's ER PPC glows I thought I'd do it here too, using only the simple Electric Blue. I was most definitely not insane enough to fool myself into thinking there'd be time and space for me to do any shading into these slits.
Stage two: coverups
I didn't quite get all done in one sitting, so the next evening I fine-tuned my previous work. I had also guessed the Ebon Jaguar's Center Torso or Head wrong so after another doublecheck later, this time it was the cockpit painting guide, I painted the rest of the viewports on it.
The little round things in Turkina's LRM launchers were something that I wanted to add a lens to, in a yellowish shade to make it clear they weren't lasers, and I also wanted to add some tiny tiny sensoring to Warhawk's chin. From afar the Ebon Jaguar's SRM setup looked like it had a place for a targeting system's sensor lens, but a closer look revealed that it wasn't the case, being divided in two.
Weathering
Having reached the cruising speed I wanted to wrap up the weapon weathering effects I had been thinking of. I still wanted to give another shot at the Gauss Gun's heat distortion effect on this dark grey base, now I'd try a slightly different approach. Should this approach fail to produce neat results, I'd paint the next GG in metallics straight away. Each of the AC barrels needed to be darkened to give them a sooty look.
To achieve the gentle darkening I just drybrushed them with black, again with a pre-moistened brush. I hadn't A/B tested the dry/damp brush approach and their results myself, I just went with one approach. Turkina's LB-X AutoCannons and LRM launcher's leading edges were the first ones I worked on.
The Warhawk was almost skipped, until I remembered that yes, it indeed had an LRM rack on the roof to keep the alpha strikes at bay.
Ebon Jaguar's LB-X and its two types of missile launchers each got the same black drybrushing. I was again lamenting that the SRM tips were so tiny I didn't simply dare to paint them red with white tips, the way I had been doing happily on my IWM miniatures.
Now I had the best moment to paint the cockpit canopy I had misread earlier. While checking the reference, I also noticed how I had misread the shape of Turkina's center-middle glass piece. Fixing that one at this point would've made it look a bit weirded so I left it as it was, making the decision mere moments before the paintbrush would've touched the plastic.
For the heat distortion I followed the three-colour-band dabbing approach with curing times in between. It was better than the last one, but only at a very close range.
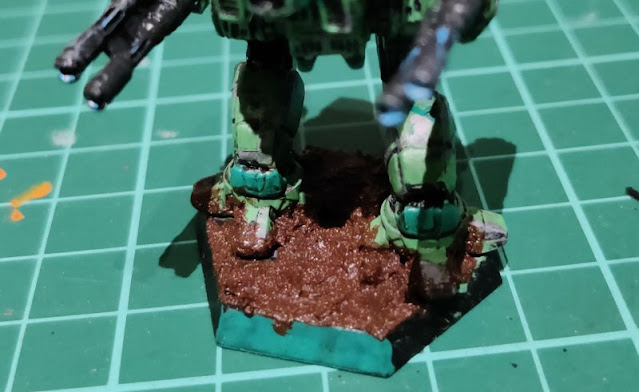
Now all I had left was the nastification of the hex bases. The victory was near..

