Quick start
Without further ado I built the pilot's area first. It consisted of a three-piece ejection seat (which was a surprise!), glued that one on the base and added the stick. I'd done more for this area if I had a pilot figure to go with it.While I was working I glued this subassembly into the rest of the frontal structure. The guideline, somewhat surprisingly, told to include some ballast around the front landing gear well. Of course I didn't own anything like that (anymore), so I dug out some surplus metal bits from a furniture shop. And then I used white glue to stick them in place, as seen in fig. 3.


The next evening, when the screw/bolt pair was tightly set, I entombed that unit inside the two-piece airframe. Then I glued the wings together. Those were grinning pretty evilly, so I taped them tightly together to avoid any idiotic behaviour from them later on. With that issue taken care of I quickly built the engines.
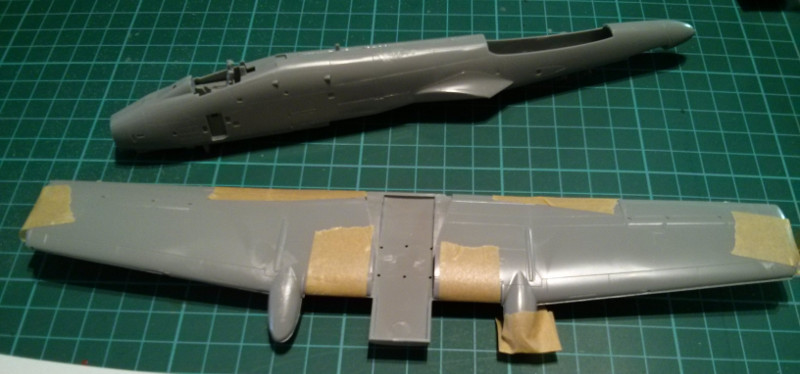


I guess they'll need some touching up here and there. To get them settle in their place on top of the plane I had to file quite a bit. The wings themselves also required some slight violence before they obeyed me. Maybe this'd be a good thing in the end, having the joins made so very tightly.


I remember getting some feedback (on the Finnish side at least) regarding the rear stabilizers being in wrong angles on the N/AW model, so I paid quite a bit of attention in getting them guaranteedly straight. Though that's what I had done the last time, but now I triple-checked. Of course one can't see it that easily in photos like this, but they were straight.

Some surprising details
When I turned my attention back to the cockpit department I noticed something exceptional. Behind the ejection seat a funny piece was to be added, that I recognized, after a bit of fiddling (playing around, that is) as the piece that moves the canopy. I did raise and lower it and try it with the canopy part and damn, that was a great little piece!If I was an eager airplane modeler and especially if I had a pilot to add here, I'd most definitely left this canopy open or ajar. Anything but closed up, anyway. Wonderful detail, this one, and I really didn't expect to find something like this on a 1/72 scale kite.


As was to be expected, I left this marvellous detail unused and glued it shut. I also slapped the nose cone on, but left the Avenger's end apart on purpose. I just wanted to make sure I'd get to tinker with it in piece, in case I wanted to improve it somehow.
Being finished with what I was going to do to the cockpit I turned my gaze at the front landing gear and quickly built and installed it. The front wheel (actually all three of them) I again decided not to install at this point, for my own convenience. They'd only be on the way until the paintjob was done, this'd be that much easier.


The nose area also received the Pave Penny pod and after gluing it on I took a new look at the instructions. Now I noticed another very cool surprise: the extending ladder. I remember looking at the photos in the references and marveled at the automatically (gravity-powered) extending ladder setup and had pondered on how awesome it would be to have that on a model standing on the grond.
Well, here I had it as an option and of course I glued it in immediately, with its door open. In hindsight I maybe should've done that ladder installation after the main paintjob, but it was too late now.

No comments:
Post a Comment