Processing the canopy
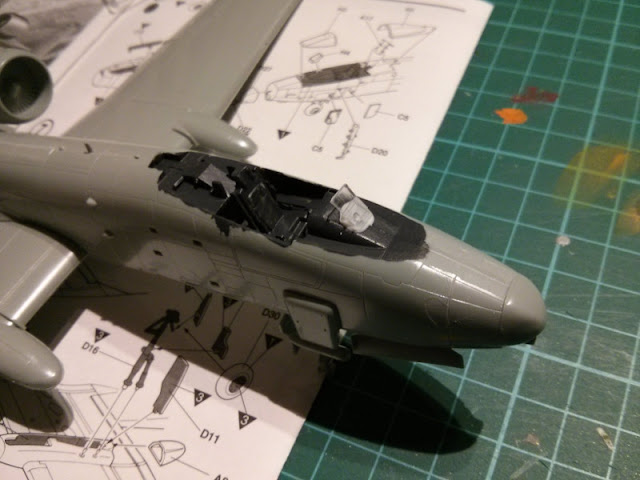
At this point of the project I took care of the cockpit's canopy. This general approach is most definitely not invented by me, I just got it from a youtube video and after a couple of tries I've decided it works very nicely. First I painted the inner frames dark grey (VMA 71052 German Grey) and while I was at it I applied that same paint over the cockpit itself. This painting step is not from that aforementioned video, but something I've noticed to be a handy thing to do before anything else.As soon as the paint had dried I covered the canopy bits with masking tape so that everything was guaranteedly covered. I pressed the tape tightly into the edges of the pieces and got rid of the bubbles. At this point you could tell that the inner frames showed handily through the masking tape.
Following the clearly marked edges I made sharp cuts with my xacto knife so that I could just pull the excess tape bits off. The result was a clearly and nicely masked pair of transparent pieces with all the protectable areas protected and the rest covered. Just the way they were supposed to be.
Before I glued the canopy parts on I glued the aiming glass on the dashboard. As you can see in the photo I had slightly overused the white glue, but maybe we'll survive as that stuff dries transparent. And I didn't go that far overboard, anyway.
Sealing the plane
To wrap this session up I started shutting the cockpit up. Firstly I applied some white glue on all the edges of the main canopy part and pressed it into its place. The bugger was grinning a bit on the rear, so I used a bit of masking tape to keep up the pressure. After that I whiteglued the edges of the windshield part and dropped it in place.The few excess white glue droplets that were sprouting from the connections I just swiped with my fingers along the edges, to seal the connections a bit more. I was pretty trusting in this setup of mine being as paint-tight as it has been so far, so that my plane's cockpit would be safe from any airbrush-related mishaps.
Finishing the bottom
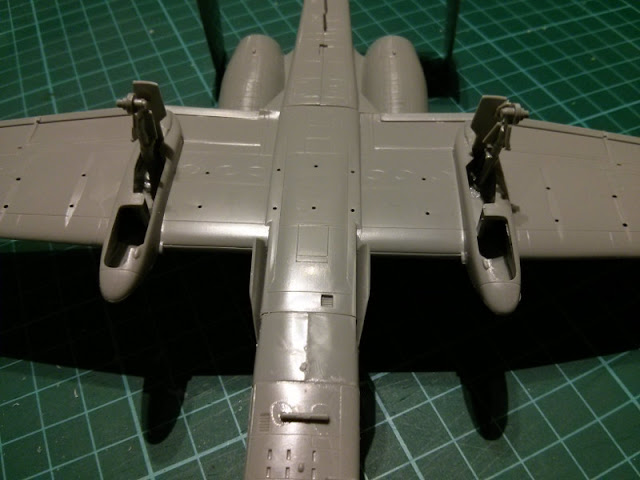
There wasn't much to build at this point anymore. I quickly assembled the main landing gear and glued both struts into their tubs with the bay doors. Those tiny door pieces were a bit fiddly-looking but in the end they did stay put.For a very bried moment I thought if I should actually leave the struts off while I painted, but as I had already glued in the front one, leaving these didn't really make any sense anymore. I guess that if I continued working on these flying things for eight more models, I might eventually remember what was the optimal approacch to these things. Or not. At least doing things this way I could leave the model standing on its stubs while I paint the upper surfaces.
Getting to the meat of this business
Everyone's been eagerly waiting for this moment, I bet. I again installed a disturbing amount of pylons on the Hog's hardpoints. This time they'd be so overloaded that you couldn't fit anything else in anymore.While writing this post I was thinking that there was at least a six-bomb containing rack for some very funny things. But we'll leave the loadout planning for later, as we'll be painting the Hog a bit next time!


No comments:
Post a Comment