Eighteenth session in two acts
After finishing the camo pattern I stopped to ponder what I'd do next. In my mind I had two main paths: a) trying out the oil paints, and b) preparing the metal bits.
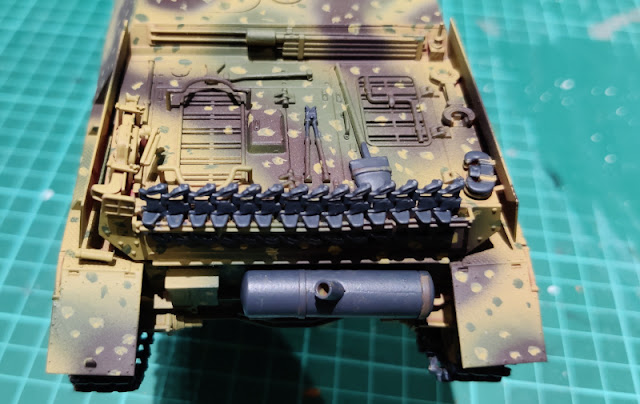
I felt that if I prepared the base of the metallic parts at this point, I'd have a better playground for the oil paints later on. In other words, I trusted my eyes so little, especially on the junk-filled rear deck, that the weathering would become much easier if the engineering tools and such were actually distuinguishable from the rest of the tank.
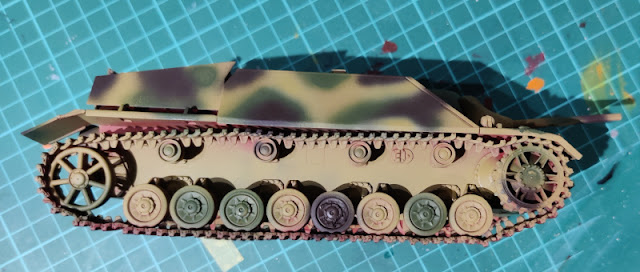
An easy choice, then, and with that we proceeded in the flowchart to the line b from the decision salmiac. I used the same dark grey (VMA 71052 German Grey) on all the metallic bits and pieces, I didn't start masking and airbrushing even the tracks but did those with one of my smallest brushes. And now, painting the shovel, I encountered a problem caused by the age and kilometerage of said brush: the tip of the brush wasn't a singular point anymore but looked more like a saluting Spock. Most of the metal parts were doable with it still, just the tightest spots like the edges of the tools were difficult without making a mess. So, for a second time in this project I stopped working when I noticed that things were just not proceeding the way they needed to.
Sequel
There wasn't much that was missing. I had ordered those three new paintbrushes (different sizes, but each small) for accurate work, as my all pre-existing brushes had already seen years of use and you could tell. I painted the remaining parts with a fresh, fine-tipped brush. While painting these I noticed a couple of bits that I had managed to miss earlier: the crank on the righthand hatch, and the long crowbar on the left side, halfway under the jack. This did verify in my mind that I had chosen the correct branch in my process.
At this point I wasn't going to poke the wooden handles or the paper-wrapped wire cutter handles, but I had an idea for them and they could wait for a moment. The barrel cleaner rods were also wooden, with brass connectors, but the block in the end was a bit of a mystery: was that a funnily modeled brush, or a its protector that could remain camouflaged?
I also added some dark grey scratches on the jack, it was not supposed to be a long-abused bit with its Dunkelgelb basecoat a distant memory. At this point this looked functional to me.
Periscopes
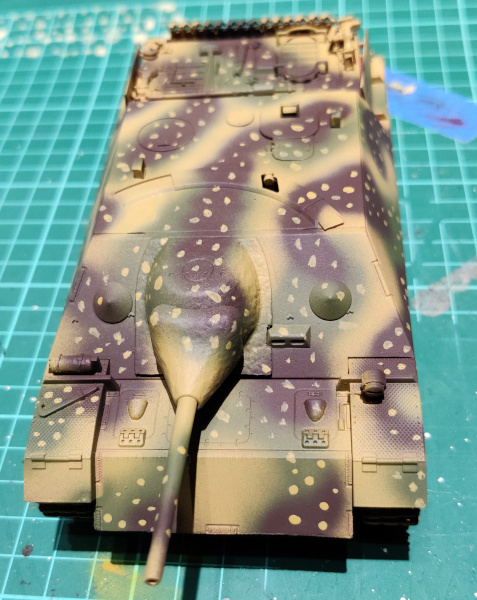
This vehicle was supposed to have four periscopes: three of the traditional, fixed place blocky replaceable prisms and then one round and unprotected one in the sliding plate. Interestingly I didn't find enough prisms from the sprues while building, so one was missing completely.
Each got painted with the same German Grey as all the other metallic parts so far. Then I mixed in some flat black to the paint, and painted the glass parts to be a hint darker than the frame. I also used this same darker dark grey to paint the unlit convoy light in the rear left corner.
After that I added some lighter grey (VGA 72749 Stonewall Grey) to my mix, and painted a tiny sliver to the bottom of the glass to depict a periscope reflection. It was a pretty subtle effect, but maybe it worked.
I guess I could've left all this for later, in fear of making a mess later on, but I did it now because I had the paints at hand. Now I needed to remember to use a bit of a gloss varnish on the periscope glasses and the convoy light. With this progress it might be weeks later in the calendar.
The same evening I painted these, when going to sleep, I was thinking if I should do the emblems next, before even thinking of any weathering. Maybe that was the thing to do, so that the markings, whatever I ended up choosing in addition to the Balkenkreuz, wouldn't stand out from the rest of the model like my balding head in a wig store.


