Mastodon

27.3.19

The right hand of Megatron's right hand

The arm with a blaster

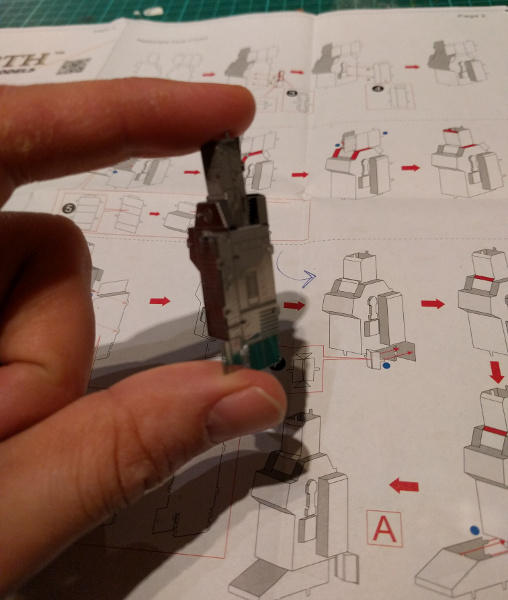
In the middle of my rush of building I didn't remember to take any pics, so what was left to show is the fully armed and operational severed arm. In his hand Soundwave carried an AA-battery-like concussion blaster.

The attachment of the gun and the hand were the weakest ones in the whole submodule, mostly because one of the locking pieces would've blocked the gun's attachers if bent as intended. So I twisted them however I had to in order to get the pieces tightishly together. Or that's what I hoped.


Somehow the instructions wanted me to keep RA off from CT at this point, but after consulting the remaining steps I decided that I know better and attached it anyway. This again helped the feeling of actual progress, as my mighty rohbut was another step closer to being perfect instead of me waiting for both arms to be ready before taking another large leap.


20.3.19

No torso twists here

Center of mass

After working on the legs the next natural piece was the hip chunk that was practically, as his alternative form required, the control button set of a ghettoblaster: ffwd and rwd buttons, a massive play button and the stop/rec buttons that oddly enough had the same identical engravings on them. Maybe I could survive this weirdness.


To accompany the hip controls I assembled the main torso, that being the cassette deck part of his. Somehow all these MEM sets that had this funny "this flilmsy bit here will be held a millimeter from everything else with these even flimsier tiny risers here" parts have always ended up being out of shape in my not too gentle hands.


Somehow, while assembling these tiny boxes, I just got the feeling that I wasn't doing any real progress at all. Just when I was about to complain the instructions directed me to stack these submodules into their places and the guy just progressed by leaps and bounds. Attaching all these '80s-style boxiness was quick and fun, the tiny 45-degree angles didn't slow it down at all.


Just look at him, he's already very recognizeable! All that was missing were the arms, the head and the whoknowswhat from his shoulder. Almost done.


13.3.19

Another leg day

The rest of the bipedaling bits

I continued working on the left leg for the short time that was remaining. That being the installation of the foot into the ankle and then restarting the process for the right leg.


The finished legs were tightly installed into the base of the hip. This subassembly then was to be attached to the baseplate and because the legs were pointing arrow-straight (Picture 3) they needed to be forced open a bit so that they'd connect with the base in a bit less stiff pose (Picture 4). This wasn't the first time when a "completed" component had to be bent or twisted against the connectors and especially against its own natural angles and that has made me queasy every single time it's been done. I really, really didn't want to break them at this point when I couldn't fix or cheat my way out of it.


6.3.19

Leg day

Getting started

This model got along on the wrong foot and as the photos below revealed, what little I got done in the first 45mins. There were quite a few tiny bits as greeblies and as the original was a Japanese mecha design from the eighties, it had funny flaps and whatnot. And this was just the thigh + shank part of the first leg.

It was ridiculously slow going, but as we have grown accustomed to, my burn rate would improve noticeably as I got back up to speed and especially when working on the mirrored pieces. I've learned something over the years and kits, seeing that I didn't push any of the attachment bits into my thumb this time, either!