Masking tape, yay!
As like almost everything else, one could paint and style the Lambda-class shuttles whichever way one wanted to. Just like the great Bob Ross said: "You can do anything you like, it's your world". I decided to be halfway boring and instead of strong personalization I'd do a couple of panels in grey - of two different shades, even!I started by choosing the second to last right trapezoid -shaped block from the ends of the folding wings, on the sides that were going to end up facing inside. Both were masked the same way, but I could've of course done the inner shape on the other one only, for variety.

On the fixed wing the three boxes on the rear end caught my eyes, perhaps they were a bit too obvious, even. Still, I chose the lot of them again.

My process
Before we get to the photos I thought I'd mention why I was wasting your time and my drive space with masking process pics. According to my own hazy memory I hadn't documented my working steps decently or properly in ages, no matter which part of the process was in question, I'd just gone with a light "this is where it was and this is what it ended up" set of photos and explanations.Not that I had any delusions of thinking that someone was reading my Project Mumblings to learn something new or to compare approaches in applying masking tape :D This was again something to satisfy my need to add some variety to these posts and here we got, me telling and showing what I did and how, for a change
Right. Because all the outer edges in this group were such that I could just pull four lenghts of tape to cover all of it, I started with the two tiny bits in between them. I was going to paint the insides and the bumps, so everything around them was to be protected. For that I applied two bits of tape tightly on the surface I wanted to protect and pressed the tape very snugly along the outer edges of the panel lines.

Next I made incisions along the panel lines with my xacto knife. The obvious benefit of a sharp blade was that I could cut the tape easily without having to resort to using force and then also scouring the plastic itself.
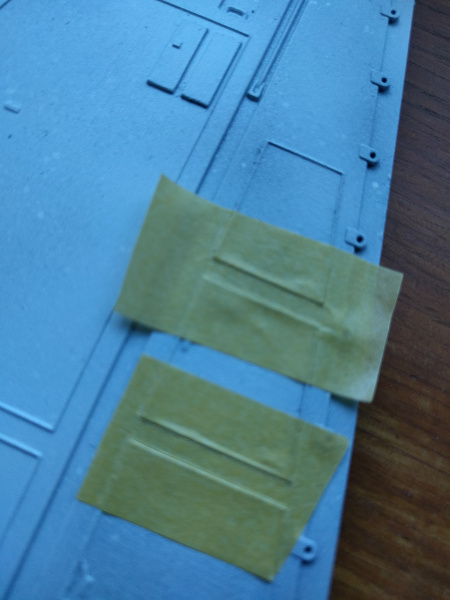
With some gentle poking with the tip of the blade the excess tape came off nicely. At this point everything looked to be in order.


All of this was done on both sides of the wing in a couple of silly minutes. The biggest hindrance was the shuttle itself, as I had to balance it on the table and between the table and my leg, to support it and to keep the wings from being bent.

To avoid excess boringness I wanted something else on the fixed wing than just the three boxes I already half-complained being obvious. I chose a small trapezoid from the leading edge and taped around it. As said, I did all this identically on both sides, even though nothing really forced me to do things that way.

The last panels
Now I was left with the bottom surfaces of the rotating wings, that were soon going to be the outer sides. Maybe boringly I did those identical as well and masked off a right angle trapezoid from the tip of the wing.As my last highlightable panel a long rectangle that ran lengthwise along the rear edge from the bend towards the tip was chosen. That just felt like a nice part to bump up a notch.

Mere seconds before turning the compressor on
As this subheading said, just before I started painting I utilized a ridiculous amount of post-it notes to protect my model from overspraying. This was to be done because some of the tape masks were a bit narrower than my paranoia with my airbrushing allowed.

No comments:
Post a Comment