Top side
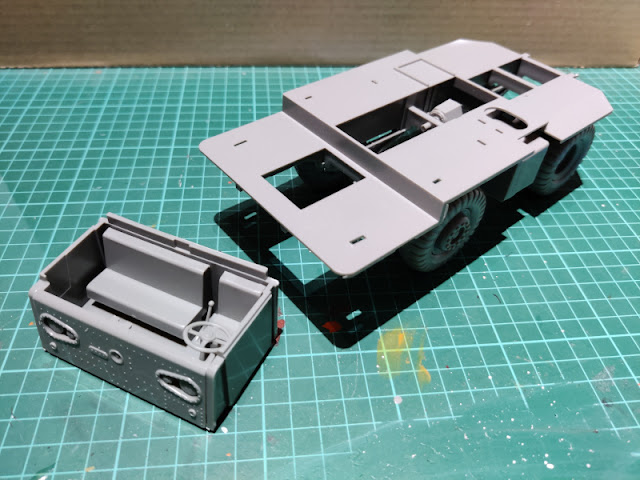
Having the underside gluings dried I flipped the chassis on its feet. I guessed that was going to turn in to a proper vehicle, even if it looked a bit strange at this point.
I started on the cockpit assembly pretty quickly. The seats, the stick and the steering wheel got glued onto the floor plate and I stopped briefly to ponder if it was a good moment to stop for an interior paintjob. This vehicle was devoid of details, especially compared to the Grad, so I decided that if I didn't glue the roof on yet, I'd get this done well enough as it was.
So I glued the wall frame onto the floor piece and the face plate onto the frame itself. Interestingly both of these vehicles were going to be pretty well ventilated, as I didn't see a single piece of transparent plastic here for windows.
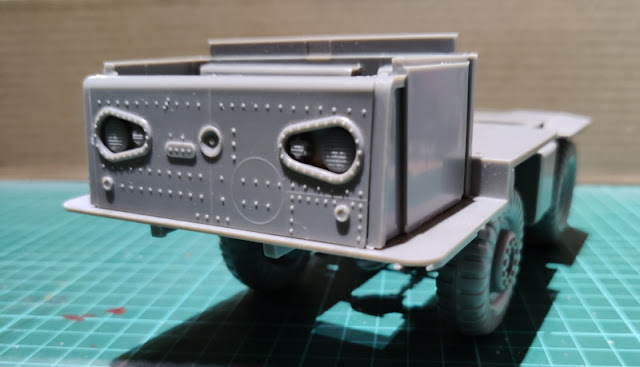
I glued the cured cockpit tub to the front of the chassis. The previous photo showed, how the front had a peculiar, large rectangular hole in it, the practical point of which wasn't evident to me because the cockpit module covered it completely anyway.
After a moment of glue-curing I attached the necessary pieces around the doors. The piece in the front corners had the hinge details, and where the extra lights were installed at this stage. The wing mirrors were not done now for whatever reason. As usual, I dry-fitted the roof piece now that I got the reinforced windscreen wipers on.
Without any glasses it looked a bit strange, but what could one do? These pics revealed a couple of badly cleaned up sprue remains, I worked on them afterwards.


No comments:
Post a Comment