Mastodon

27.1.21

Project I/21

Wizkids unpainted

Last summer I got one of these pre-primed statue-like things for my birthday. As it indeed was already primed, I could just pick up a set of paints according to the back of the card and get going. Fun, easy and unproblematic, and not at all as time consuming as a five-turreted Soviet tank or an atomic cannon.

The front of the packet

The rear of the packet

A pre-defined colour set

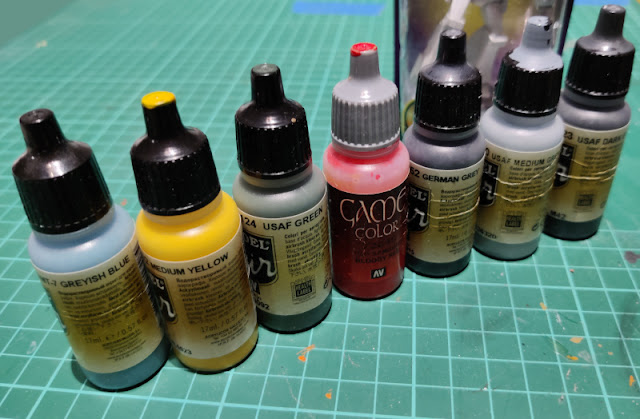
I thought I'd just choose a set of paints that were as close as possible to the suggested colours. Seven were supposedly enough, from start to finish. In top-down order I chose USAF Dark Grey as my darker grey, USAF Medium Grey as my lighter option, German Grey to use instead of flat black, Gore Red or somesuch, Medium Yellow and USAF Green (I thought maybe the USAF series were kind of matching contrast-wise) to represent red, yellow and green. The most difficult was blue, of which I had few to begin with: one of the Soviet Air Force's Greyish Blue that I had bought for the Su-27 project.

My seven colours

Megatron himself

In addition to Megatron the packet contained a baseplate, stickers and decals. Lord Megatron only absolutely required one Decepticon roundel on his chest, so I thought I had a positive problem of needing to find use cases for the rest of them.

The Megatron statue with his base and decals

Megatron: front

Megatron: left side

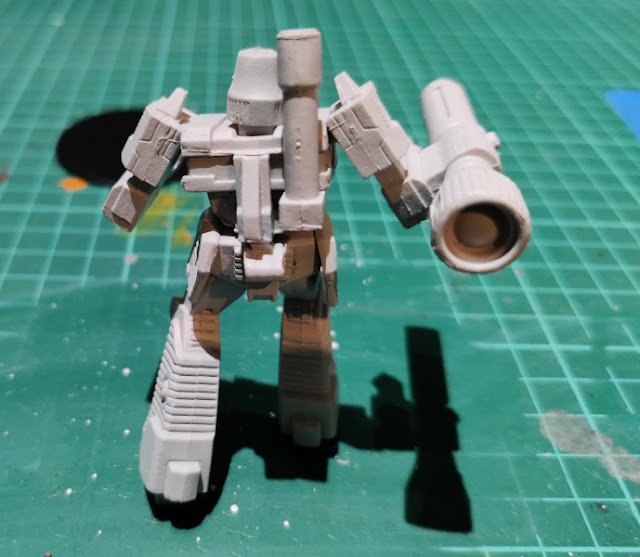
Megatron: rear

Megatron: right side

Megatron: a close-up of his face

20.1.21

Finished: Project IV/20

M65 280mm Motorized Heavy Gun

I've constantly talked, through the duration of this 145-photo and nobody knew how many hours long project, about the cannon as the M65 and the trucks just as trucks, when M65 was the identifier for the combo. Had I been smarter I'd been more factual and consistent, but here we ended up again. Then again, I've tried to keep the tags of 'Mumblings [since moment t in its lifecycle] from getting to fine-grained, so maybe just using one single project-specific tag was acceptable.

Cannon T161 on carriage T72

The nuke gun, atomic cannon, Atomic Annie, a dear child had many names. Not too many of these were built, just 20, of which #9 fired one 15kt W-9 shell  (diameter: 280mm; lenght: 1380mm; mass: 364kg) in the Upshot-Knothol operation's test Grable. I assumed that anyone reading posts like this already knew these things, and had the video clip playing in their mind's eye already.

In the real world the whole M65 weighed 42,5 tons in addition to my own mass, and had a total lenght of 11 meters and was about three meters wide. Unlimbering it took 12 minutes and getting it ready to run away ate fifteen full minutes. Not that those were to be taken anywhere near a danger zone, as the official range was 32km and the unofficial up to 56km.

I tried to find some more facts from an article I had found months ago, to flesh out this post, where the normal shells were also talked about. I just couldn't re-find it anymore.

M249 & M250

Obviously the trucks had different model number, the front one was a M249 4x4 Heavy Gun-Lifting Front Truck and the rear one was also aptly named: M250 4x4 Heavy Gun-Lifting Rear Truck. Simple enough.

They didn't really look like it, but they both weighed 16-17 tons, while their max speed was allegedly about 72km/h, most likely without the cannon slowing them down to reach those numbers. The full mass of the 26-meter-long M65 reached 78 tons, and that wasn't something you'd get up to those speeds too easily.

Final images

The model was so ridiculously long, that I didn't even attempt to play with some A4s - and I still hadn't invested in a light tent (not sure if this had fit in one of those, either), so these pics were taken on top of the dining table.

My one complaint about the instructions was that it was absolutely unclear how to get the cannon's barrel set up for transport, for all the steps only showed the firing mode. So my cannon was stuck into the firing mode and could not be safely unstuck to get it in the proper transport mode. In case someone was going to point this out for me: I know it's wrong ;)

Atomic cannon in transit

Atomic cannon in transit

Atomic cannon in transit

Atomic cannon in transit

Atomic cannon in transit

Atomic cannon in transit

A rocket for scale

At the very last moment I got the idea of taking a pair of photos of the M65 next to the Lego rocket. This was indeed hilariously long, fully assembled. I just thought that for scale a Lego Saturn V would work much better than a banana.

M65 and a Lego Saturn V

M65 and a Lego Saturn V

13.1.21

Weathering with dirt

Very gentle weathering

Before I started with the dirt layer, I strongly drybrushed the headlights of both of the trucks with off-white (VMA 71279 Insignia White). Somehow the light white layer on top of the steel base has made lamps more plausible for me in previous projects.

The headlight effect

Insane mess-making

As in a number of earlier modeling projects, I airbrushed a dirty colour (VMA 71133 Dirt) from a distance. Time had played its tricks on my paint, so it didn't flow as well as my Badger would've liked it to. Despite the suboptimal paint thickness I got these three constructs dirtified to some degree.

Weathered truck 1

Weathered truck 2


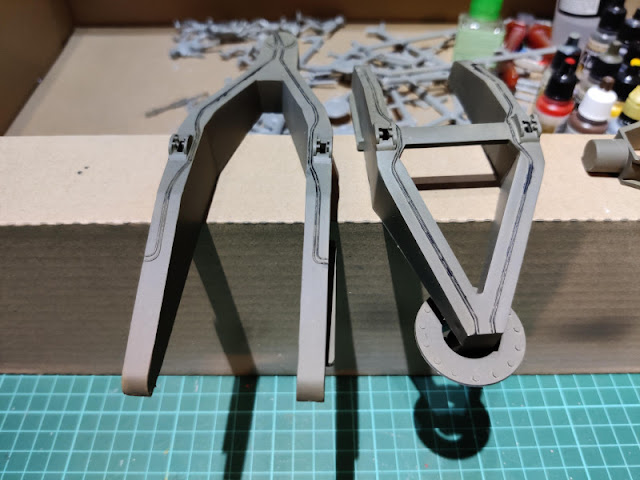
After the dirt layer had dried, I attached the forks onto the trucks. The vehicle #2 at this point looked like something was missing from the deck, but I just assumed that that round hole just was there.

Truck 2 ready for action

Ykkösajokki vararenkaineen

Käyttövalmis ykkösajoneuvo


Cannon, the

I had dirtified the cannon's carriage earlier, now what jumped into my eyes from these photos were those cursed decals with their silvering.

Säistetty kanuuna

Säistetty kanuuna

Säistetty kanuuna, kranaatti latauslaitteessa

6.1.21

Small details

 Fooling with little details

Even though I had decided to leave the little people off my model, I still painted the 280mm W9 atomic shells grey (VMA 71048 Engine Grey). Their tips would still need some steel on them, I thought.

W9 nuclear shells

To get at least a tiny amount of change to the overblowing olive drab, I caressed the molded-on cables with black. Afterwards I wasn't still sure if I should've washed them with black or brown instead.

Cables on the lifting forks

The same cable-blacking operation was done to the cannon's carriage. Here this worked much better in my opinion, even though these were a bit tricky to get to with the paintbrush.

Cables on the left side of the carriage

Cables on the right side of the carriage

Front vehicle

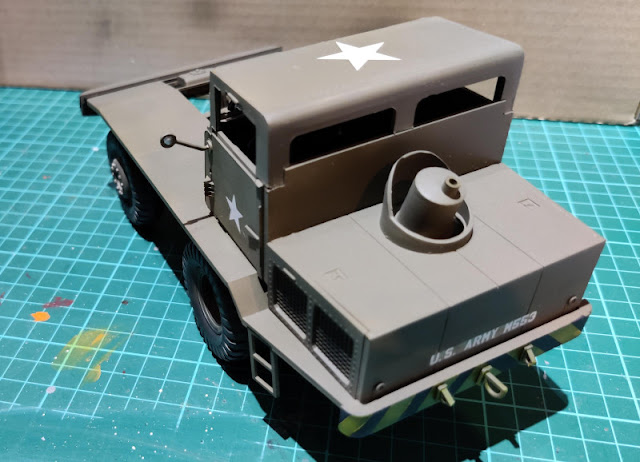
I was excited getting to the non-green parts at long last. Not that there was much to do, thanks to the specs. The windshield wipers' soft bits I painted flat black instead of tyre black and while I was at it I also drybrushed black on the engine compartment's mesh screens. The wing mirrors, extra lights, the main headlights and that round thing in the middle of the truck's nose I painted with steel. All the yellow and red signal lights I painted as ordered, being so small they were hardly distinguishable.


Rear vehicle

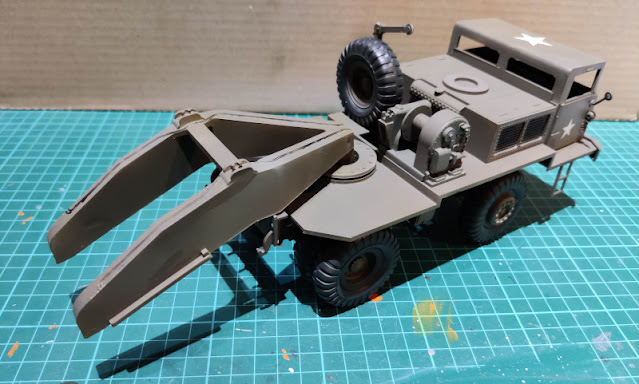
The second truck got the same treatment as the first one. Red-yellow signals, steely mirrors and headlights, blackened meshes. This one had more axles visible, so I painted them with the same engine grey that I had used on the shells earlier. Having these axles done differently looked pretty decent to me, so I went back and repeated it on the first truck too.