Small but large steps
Now that I had rammed the motor into the warmachine, I thought I had no more excuses to keep being slow with the insides. Besides, there wasn't anything to be saved for later, what'd I do with loose boxes and radiators, anyway?
Behind the motor
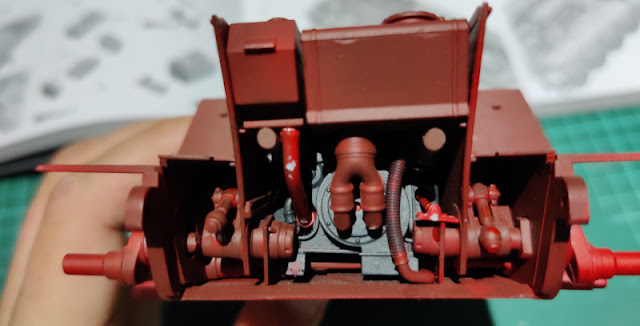
Just behind the Maybach I installed a vertical plate, that with a couple of other bits created a handy shelfless installation shelf. Had I recognized while painting, what bit should've been left unpainted and what not, my progress would've been even nicer. But I had chosen my methods myself.
The remaining shelf space was eaten by an 85-litre refill tank. Based on what I read the fuel tank experience with its seven tanks (the two 170l tanks in the combat compartment, the more or less trapezoid-shaped 80l and 85l tanks residing just above the torsion bars in the rear of the tank, the rear edge-located 145l tanks and this last one) worked so that they all were connected in a series for refilling and airing so that all the other tanks were filled up via this uppermost tank. Made sense.
Fixpainting
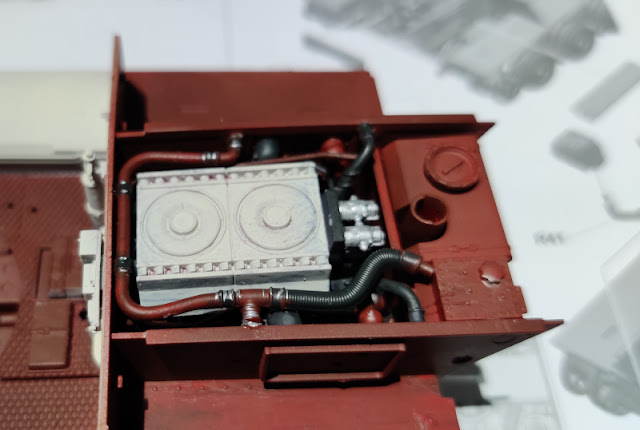
At this point it was a good moment to stop installing more crap and fix the weakly painted pieces. I went through all the "hard" pipes with red-brown and the soft ones with rubbery tire black. Each of the attachment points I poked with a metallic one, so that the mechanically worn things would show some weathering and most likely they were generally distinct, like the ones in home radiators.
Fuel lines
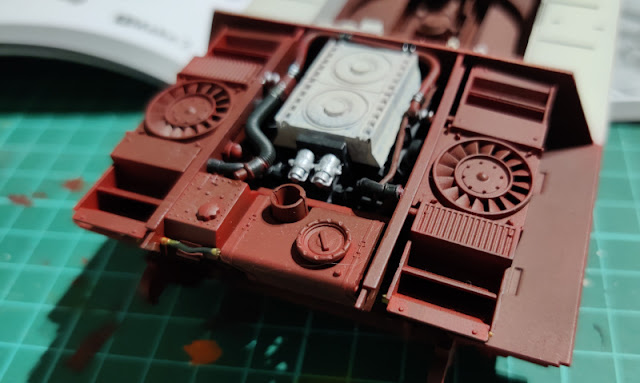
Excitingly before installing the remaining big bits in the rear hull I got to install the tiny fuel lines. Installing them in place was interesting, to say the least, but they settled in after a few well-chosen words. While gluing I was thinking that this was the way, as if I did these later, the scoop of the fan/radiator would've been on the way more than nastily.
Fans and upper edge tanks
Everyone who's ever played Battletech knew painfully well how engines and especially running them brought up the heat, so some sort of heat sinks were more than important. On this model these puppies caused no problems of any kind.
These photos were left missing the last fuel lines from the side tanks to the top-center refueling tank. Two silly lines didn't really bring much added value to this one post, so I postponed showing them to a later post.


No comments:
Post a Comment