Fine mechanics
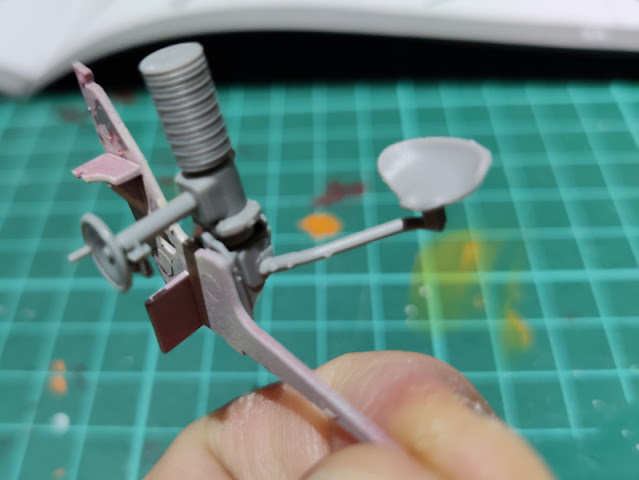
I started assembling the equipment that I assumed to have something to do with the rotation of the turret and that was going to live on the bottom of the turret's basket. This was something I hoped that would again get a bit clearer as the build progressed.
The first larger component was supposed to be glued at a freely set angle. Again the success of my guess ("well, it looks like in the weird-angle picture, so maybe it's ok") would be judged when the different subassemblies were joined together and not a moment sooner.
This photo here showed somehow, how the physical piece and the illustrations of the instructions weren't exactly and perfectly aligned in their common reality. Maybe that wasn't going to become a problem.
I kept working on the subcomponents. Next up was the seat that I thought to be the loader's, as it was installed far away from the crank.
Like I have complained before, getting these freely installable pieces somehow aligned was about to give me more grey hairs. In the photo below I was holding from the narrow end of the important frame, that was very strangely bent, and that worried me quite a bit.
Mechanisms onto the basket
After the mechanism setup was done I prepared the basket floor by adding the necessary maintenance hatches, boxes and liquid tanks. When I had the mechanism frame's second frame-half in the curviness of the pieces and the fitting issues jumped up like a cat whose tail you walked on. I only felt like swearing mildly at this point.
With some gentle violence and phased gluing on I got the complex installed onto the basket. At this point I trusted that I'd get it all done decently at some point.
More funny moments, the basket's rear arc's backplate was just glued on so that you had to trust it was meant to be aligned by the basket's outer edge. I really, really, really didn't enjoy this method of "glue this here so you can find out ten steps later, which angle it actually needed to be set to".
More fun stuff: at this point I noticed that I had forgotten to install one of the subassemblies for the adjustments. Installing that correctly required a handful of dry-fitting rounds, because the instruction sheet's fancy isometric pictures were useless.
Slowly more stuff materialized onto this complex that was, as you may have guessed, unexplained. I started to think that I was expected to buy a highly technical sourcebook to go with the model (I'd enjoyed that to be honest, had I thought of it in time).
The workspace here was kind of familiar from a couple of decades ago. If I didn't know better, the bottom-right place was the gun aimer's place as there was a crank for controlling the horizontal rotation and the gun's elevation, or that's how it definitely looked like to me. Then again, that was a specialist job that didn't exist in this tank so it had to be the gunner's place. This then confirmed my earlier guess that the other seat was for the loader.
For some reason only now I got to install the support structure to the front arc of the basket. Had this been done two weeks earlier (in actual calendar time), the whole cursed thing would've been so much sturdier and straighter. But no, we couldn't have had that.


No comments:
Post a Comment