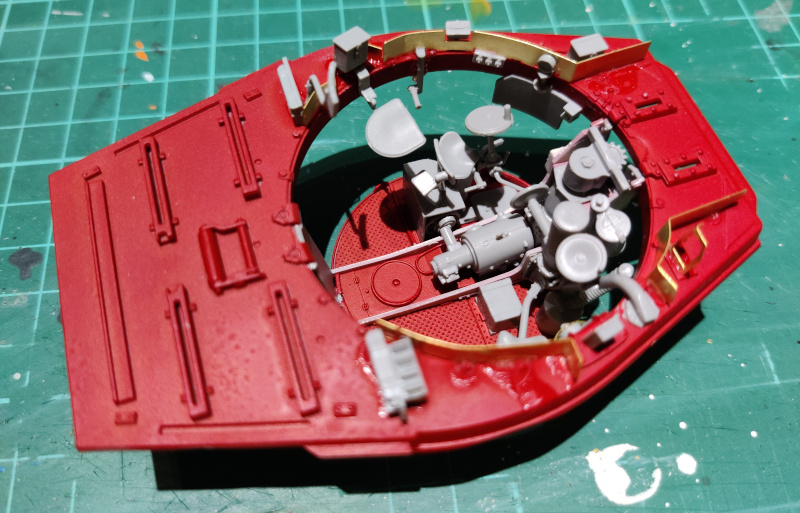
The inner turret
While the last gluings of the turret basket were curing I started on the turret's inner details. There were going to be an insane amount of bits here, most of them traditionally pretty mysterious to me.
I had to admit it: bending the PE plates into correct angles was surprisingly painless this time. My largest issues with them came from the building order, some of the plastic pieces were to be installed before and some after. The instructions weren't of much help there.
Being cautious I left the superglue to set for a while with a healthy safety margin, and set the basket into the tank's hull just to see how it felt. It looked even more cramped than I had thought it would.
At this point there were so many fragile pieces hanging below the baseplate that I got a bit concerned if they suffered when laying the piece down overnight. The commander's seat, for one, was looking pretty precarious (and strangely angled).
Basketing the turret
If I had much hair left, this stage alone would've made it stand up. Basically attaching the turret's base to the basket should've been a simple and straightforward process, as the tall front- and rear bits were aligned with the basket's own edge.
Oh my, no. If you aligned one of those with the turret's inner ring, the other one was two millimeters off - to the inside! Doing this with the step-by-step gluing and slight bending was made more difficult by the fact that you couldn't leave the turret floor to rest on the other bit while the first one was curing, there was no natural support.
I decided to start the installation from the rear plate and use the pipe you could see in the bottom right as an extra support. The front bit I forced into place later, when the rear one had cured properly.
At this stage the turret was looking nasty. Just about the only positive thing I could say that it at least remained in once piece, which was a noticeable improvement from how it behaved half an hour earlier.
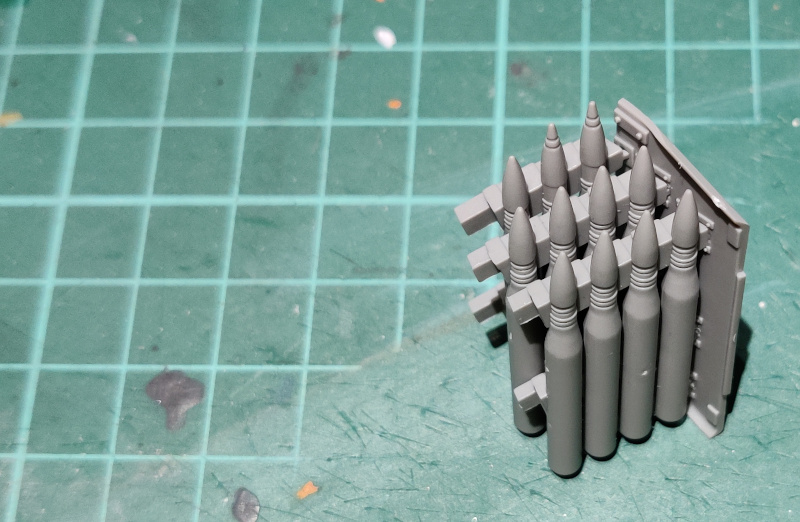
Shells!
Again I changed my approach with these puppies. I just detached the ammo rack w/ shells for the left side of the turret, cleaned them a bit and without further ado glued them together and into their own support wall. The grenade rack was an impressive sight and took almost all the available space from its side of the rear turret, as you would have expected.
Funny thing, but adding something as simple as the ammo shelf to its place improved my mood noticeably. Maybe it was because it was a no-problem subassembly and made a great difference when in place in this nasty-looking turret. Yes, I had bought a fresh superglue and an excessive amounts escaped as you could see in the photos.
Of the general furniture inside the turret, only the right side's ammo rack was missing at this point. I built it as quickly as I did the first one. Both were missing the PE discs, which I was going to attach well before I painted anything.


No comments:
Post a Comment