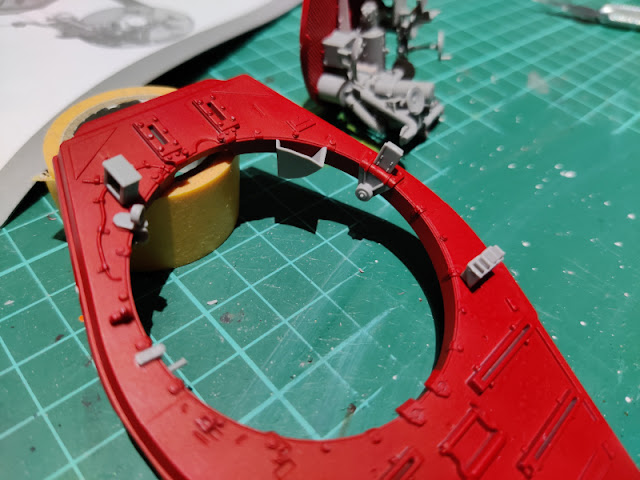
A creamy turret
My simple plan for the interior painting was pretty much this: "just follow the instructions". Without any better knowledge on my part, I thought it was wise to not make stuff up.
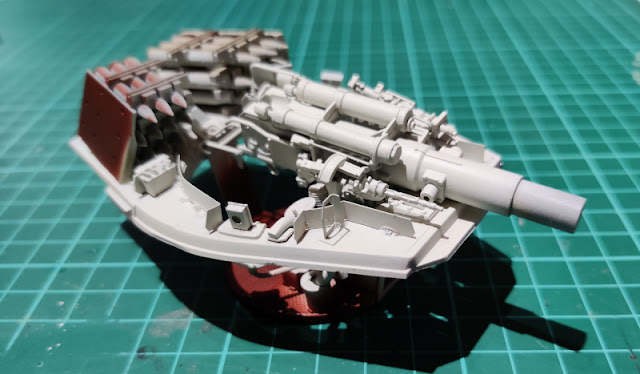
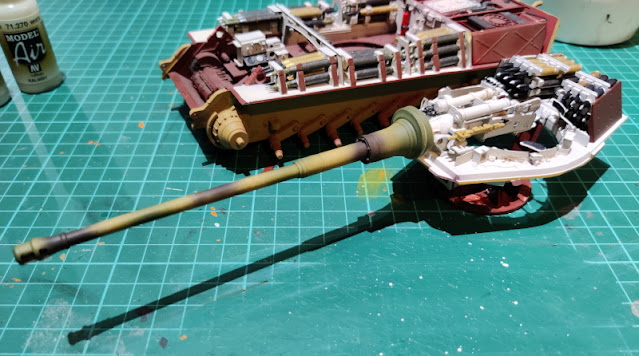
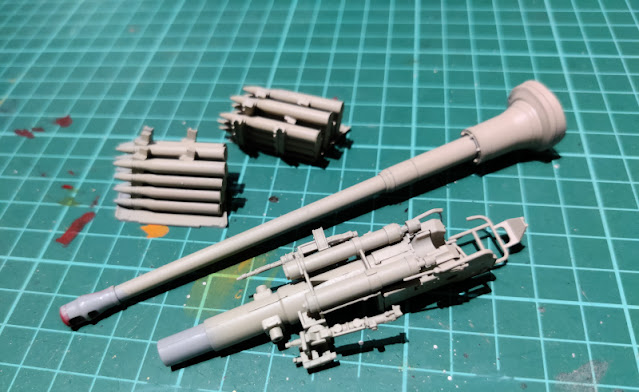
I started this by basecoating the only primed bits from the turret, the Panzeregranate shelves, and the tail end of the cannon with white, now with a different shade because my VMA Grauweiß bottle's cap had cracked and the paint had dried a bit too much to flow nicely through the airbrush. As a replacement I used the paint I had actually ordered for this project, the cream white (VMA 71270 White) that worked just great.
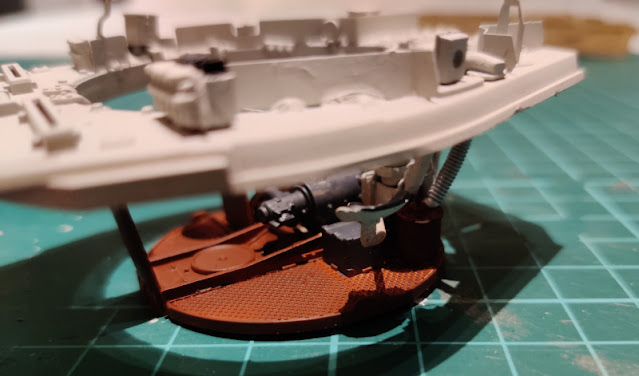
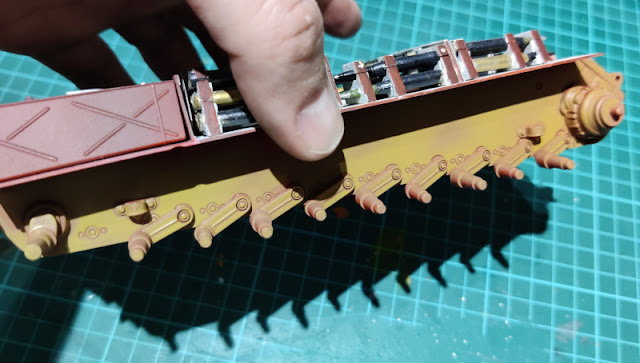
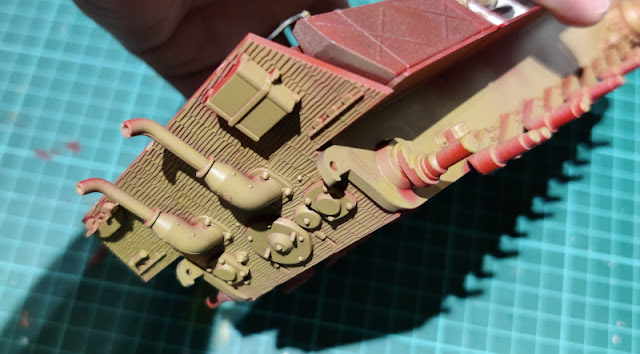
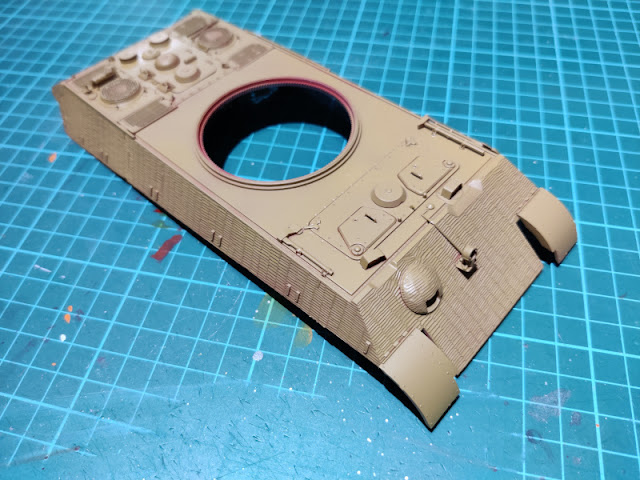
The outer walls of the ammo racks I painted red brown (VMA 71271 German Red Brown) like I did with the hull's outside facing edges. My paint coverage wasn't perfect but that wasn't my primary goal, I just wanted to make my paintbrushing stage that much simpler. While I was airburshing around, I changed my mind again and, after all, painted the bottom of the turret's basked red brown to follow the general directions better. Any overflow and badly made maskings I was still going to fix by hand.
Detail-level tweaking
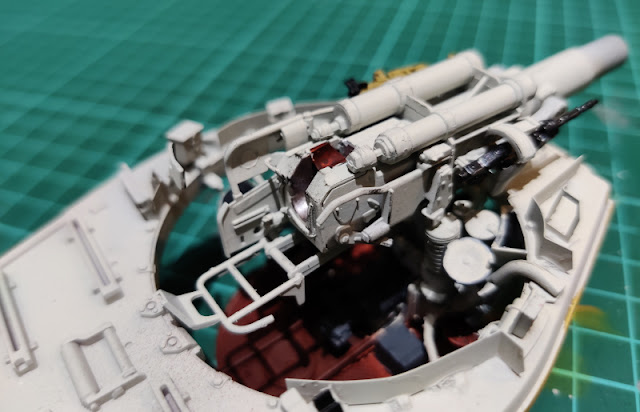
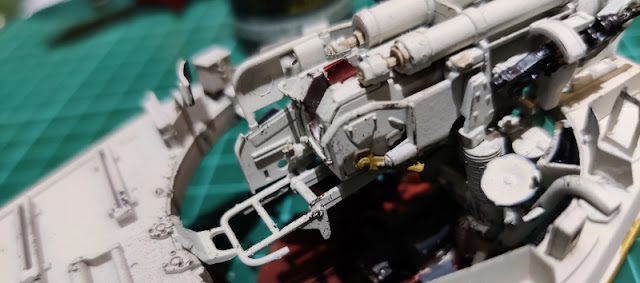
The next time I was painting some various details that caught my eyes and that I felt like emphasizing inside the turret. On the loader's side, on the rear arc there was a set of angular pieces that I believed to be related to the shells for the Nahverteidigungswaffe, which I then painted with metallic black. After taking these photos I also did the same for the coaxial machine gun's ejected shell casing capturing funnel (?)'s insides.
Ammo painter in action, part II
Attaching the cannon
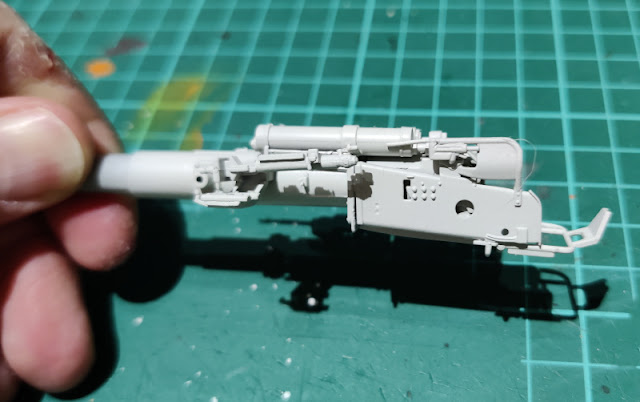
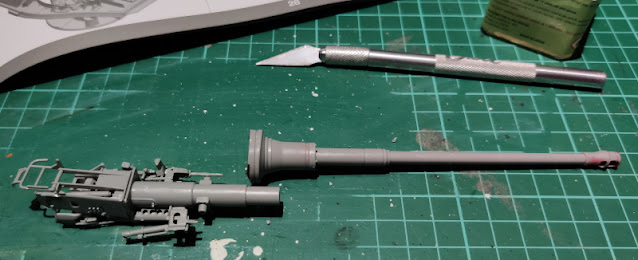
Before trying to do anything else I attached the white-painted cannon holders onto the cannon. Getting them nicely on was difficult as the fit was tight and the coaxial machine gun was just a bit on the way (I should've thought of it and glued it on afterwards). As soon as I got the angles and positions ok, I glued the bits onto the turret.
Weathering a bit
This pure and clean area needed something, like light staining all around and paint flaking especially near the ammunition storage. Should my old Vallejo Weathering Effects oil stains and such still be alive and useful, they'd love to live in here. Lightly applied, of course, I didn't want my precious tank to look like a trashbin of an abandoned fuel station's outhouse.
Paint chips and engine grime
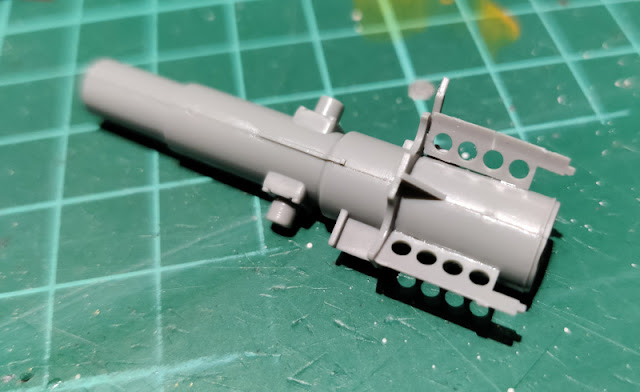
For the chipped paint effect I dug out a piece of foam from my random crap -stash and tore a rough-edged triangular piece. I dipped a corner into grey paint (VMA 71056 German Dark Grey), wiped most of it off and dabbed around in places that felt that would be subjected to lots of bumps and hits. The end result was to be a chipped / flaky paint effect.
In a text block earlier I was thinking of my Weathering Effects products, the fate of the oily one (VWE:Engine 73813 Oil Stains) had been grim: over the years its components had separated and too much of the solvent had evaporated. No matter how stronly I shook and rolled, I didn't manage to revive it. Pity, as it was fantastic stuff.
The other one (VWE:E 73815 Engine Grime) was in a much better state and that I applied to the cylinders and on the outer edge of the PE rim you could see in the bottom center of the next photo. It wasn't quite as awesome as the oil stains, but nicely shitty anyway!
I had also pondered earlier whether I should paint the lock's lever red or not, but I decided it wasn't that dangerous (also, based on my limited experience with field guns, they weren't made to look scary) there was no need for an alarming red here. Not very shockingly I painted the lever with dark yellow, to make it stand out enough in a rushed space, but not too much.
Ammo racks
The other evening I spent about fifteen minutes fixing the ammo racks, I mostly painted the racks themselves white (using the same VMA Grey White I had used as a base white earlier in this project), and checked that the shell tips were as they were expected to be. The black-cartridged shells had a steel ballistic cap, the brass-cartridged had a black one.
After I had glued the last ammo racks into the back end of the turret, I noticed that I had made a silly little mistake when painting the inner edges of the turret's inner wall white - I had meant to paint them red-brown like the outer edges of the shell racks. This way the turret and the hull would have been painted the same way.
Luckily that was just a tiny tweak, and none of them should ever be visible to anyone, but as always: I would know they were done right. The way I planned.

