The beginning and the end of the tank cannon
I was actually a bit surprised when I turned the page after assembling the ammo racks and found myself from the very end of the instructions. This final building stint started by assembling the first part of the barrel, almost paranoidly staring at the piece alignments. Keeping the barrel halves in place was facilitated by the support bit for the recoil damper double cylinder.
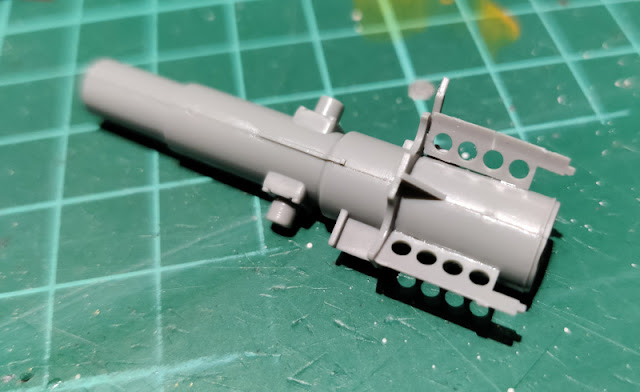
These holed wings had an undoubtedly important role in reducing the weight of the cannon while keeping it sturdy. I knew absolutely nothing about that business, I just glued them in place. The rightmost one sufferd a small fracture, while I was detaching the thin piece from the sprue.
This rear plate brought more sturdiness to the construction and once again I could only hope it was properly aligned. There were no useful guiding pieces to ensure it automatically.
To the rear end of the cannon's barrel I built a box with jaws, between which I was expecting to install the breech block pretty soon. I hadn't been checking the steps ahead so far, so I was running on my traditional "that's how it's been elsewhere" line of thinking.
Next up the jaws were covered all around with a block that had the space for a lowerable breech block. The block I installed as closed, even though there should've been space to keep the lock open as well.
At this point the cannon's part that lived on the inside of the turret was at its maximum length. Again I was mostly worried about having the main pieces aligned straight, as it would be somewhat annoying to find out that something was decisively off-angled when I was installing the weapon inside the turret.
Coaxial machine gun, a
Onto the right side of the gun's barrel a sturdy-looking support setup needed to be built, so that the coaxial machine gun could be installed in place. The imagery of the instructions was again a bit interesting, so I had to spin the pieces around quite a few times to be absolutely certain that I wasn't installing something upside down or to the opposite side of the barrel.
Funnily enough the second MG was much simpler to build than the radio operator's ball-joint MG. This was nicer, though, as the sturdier bullet-sprayer was going to need all the help it could get to stay attached by the two silly attachment points it had.
Protective plates and the gun sight
I know I said the gun was lenghtwise done, but it was still missing a few protective plates and the gun sight. The binocular gun sight was its own simple subassembly, and it was known as TZF 9d, Turmzielfernröhr, a fantastically descriptive name.
The next day I noticed that my coaxial machine gun's alignment had gone a bit off, and at the moment of taking the photo it wasn't properly coaxial yet. Perhaps that could get fixed still.
The external gun barrel
Now that I started building the final, external part of the cannon, the instructions were running very low. As you could see, the bit that resided against the turret's chin was pretty sturdy.
What I found exceptional was that the main part of the cannon's barrel was a single piece instead of two (easily misaligned) halves. The photo above showed the instructions showing how to build the three-part muzzle brake.
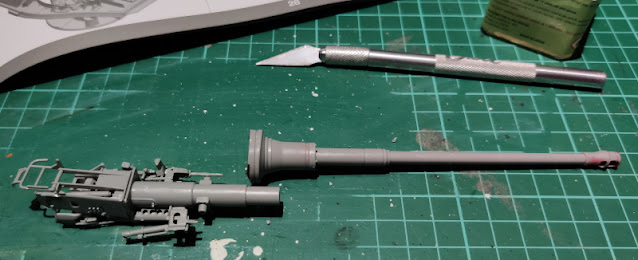
Finally, the cannon still in two parts to show the scale of the damn thing. The barrel parts would be attached together only after the turret's assebly was completed.
A quick dry-fit and the last PE bits
Of course I was excited to check how the cannon looked like in its new habitat. At this point it looked somewhat outrageous, as some of it was bright red, some unpainted grey, with some goldish photoetch slabs here and there. But it was good to see the progress, even if it wasn't pretty yet.
I used my remaining minutes supergluing the small metal discs to the ammo racks, so that the almost completed cannon would have something to pass through. This posts progress (two evenings) was almost lightning-fast compared to me working slowly on the turret for a couple of weeks.


No comments:
Post a Comment