Step retracing
I had started drybrushing the engine nozzles with Gunmetal when something made me take another look at the reference pics I had used before. My camo pattern ran up to the attachment point of the nozzles (photo 1) when on a plane in its natural habitat the metallic area went almost as far as the leading edge of the vstabs (photo 2). Verdammt. I feared this was a deviation large enough to warrant a redo.
 |
| [SOURCE] |
 |
| (c) Pavel Vanka [SOURCE] |
Masking paranoia
I trusted that I'd get this done rather quickly. Now I had to make sure that all the surrounding surfaces were properly and perfectly protected before I restarted painting.On the top I started by choosing the front edge of the paintable surface, this I did by masking horizontally along one of the panel lines. After that I fought the strips of masking tape running along the length of the plane, in a couple of pieces thanks to the gentle curvature of the engine covers. Getting these masking tape pieces tightly in place was a bit bothersome, thanks to the shape of the target edge and the confined space. For pressing the tight line I used the dull edge of the xacto knife. Doing the same between the two engines was obviously much easier with all the space I had available.
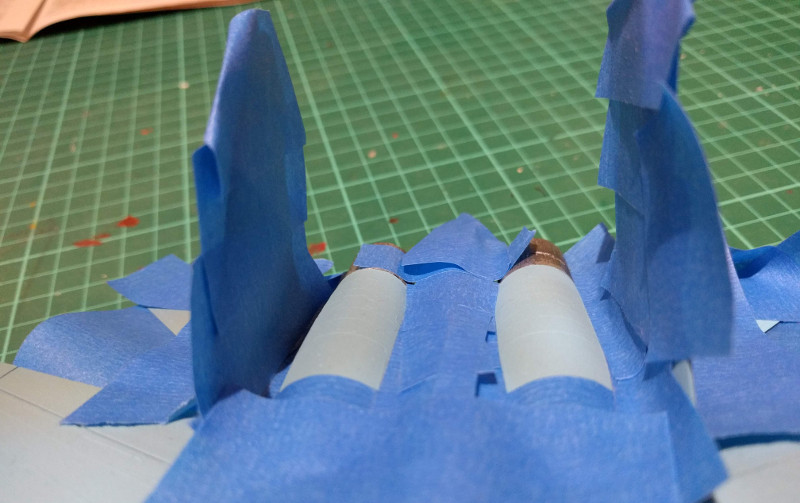
On the flipside the masking was just about the same, but as seen in the photo below, I added strips of tape directly below, along the panel lines, to implement the puzzle piece effect I mentioned earlier. Unlike in the reference image, I was not going to do the middle grey part. I just did not deem that one necessary.

No comments:
Post a Comment