A massive box trail
First things first: I wasn't 100% sure if this counted as a box trail but that term made more sense than the others - but if this was false, my apologies!
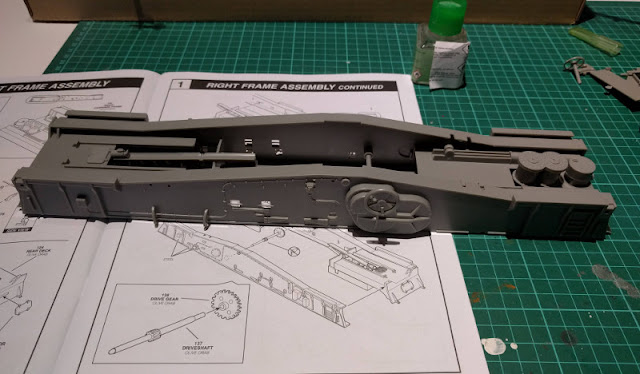
After a good amount of dry-fitting I glued the left half-block of the trail into the bits I had built the last time. I also remembered to add the missing axle-gear combo for the gun's elevation. The ways all these parts were all to be attached to weren't too clear in most of the cases, so I was being pretty damn paranoid before going for the glue.
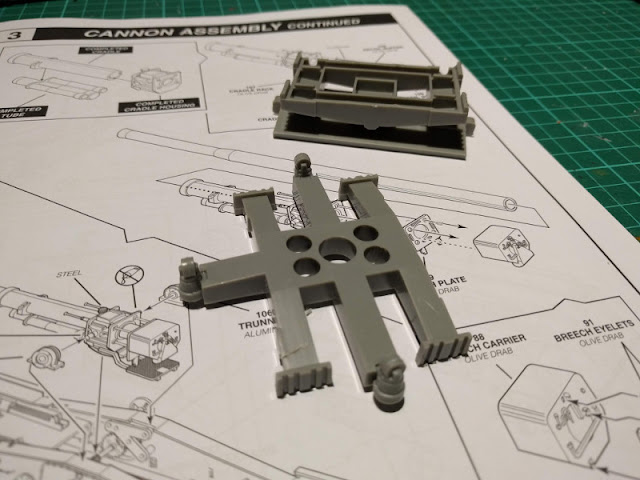
Onto the front and back ends of the bottom of the carriage a few pieces were added that, among other things, added structural integrity and helped keeping the thing in its proper shape. In the front of the next photo was the three-wheeled oddity that was used to rotate the cannon. And in the rear, guessing by the teethed bits, a part that was somehow tiltable and got installed to below the module that contained the hydraulic rammer.
Some visible progress
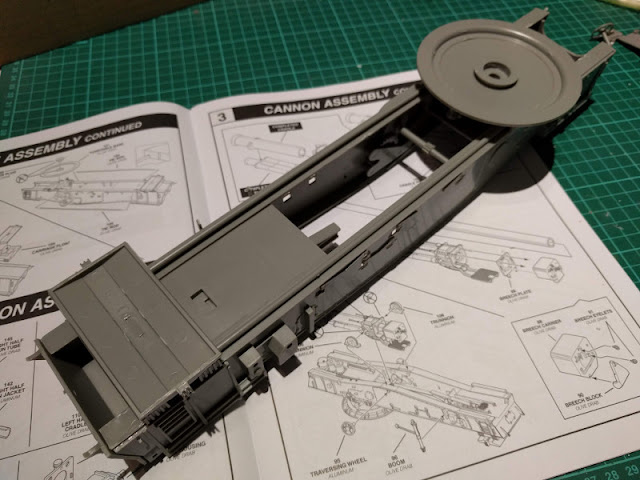
The front of the carriage got a large-diameter (~2,7m) ground plate and the wheels that we saw in the previous pic were running on a track on top of it. This reminded me of the artillery in Suomenlinna for some reason. That setup in the rear of the carriage didn't get much more attention, my guess was that its tiltability was to allow for a less-than-billiards-table flatness of the firing position, meaning that it could be set on natural terrain in addition to some proving grounds.
These long beams that ran along the length of the carriage didn't want to go in place decently, so I had to hack them a tiny bit. The one on the right side in the photo below needed much more tweaking than the other, first one. Still, nothing traumatic happened. Next I could start building the ordnance-delivery mechanism itself.


No comments:
Post a Comment