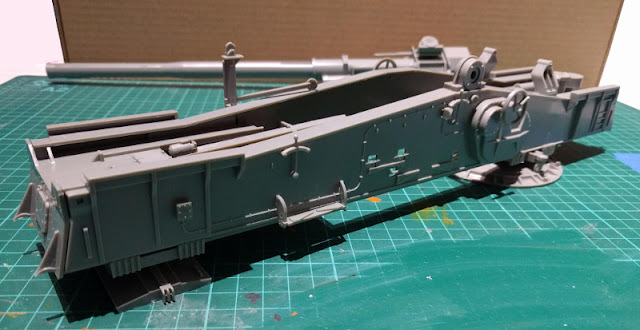
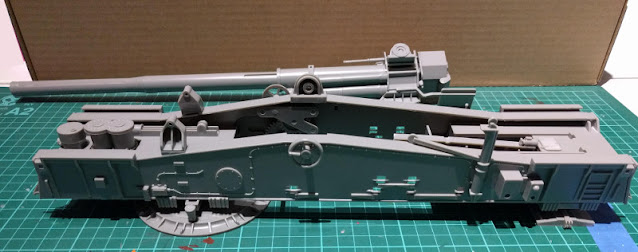
The breech
Most likely this cannon worked a bit differently from the ones I was used to, so if my comments have gone slightly off, apologies.
As far as I know, guns that get loaded from the rear end needed a breech, so I assumed this device also had one of those. At least there was a massive steel block in a correct place.
It was pretty impressive already and at this point it was still missing meters of barrel. The block in the end could be moved back and forth, the four rods didn't block its movement at all.
Testing the inclinator
As I had gotten this far, I wanted to check if the inclination adjustment mechanism worked or not. I glued the righthand axle onto the carriage and held the left one on by hand.
After the first couple of spins that felt weirdly contactless the barrel started rising upwards. In the second photo it was at the maximum angle.
Carriage, decorated
The instructions had recommended gluing the gun axle holders on, but as I said, I had ignored that, for it was obvious that I had to paint this monster in chunks. Maybe I should've started before any building, but I hadn't had too goo experiences with that approach. At this point I glued on adjusters, wheels, support pieces and whatnot until I ran out of them. The foldable mesh/grid walkways I left for a later date.
To check, yet again, that the bits were aligned, I set the cannon's barrel to the transport mode and as ready as I could imagine it could be. Maybe that was more or less the state where a new grenade was loaded in. Or perhaps some fool had thought of using this gun for some very direct firing. This was a nicely playable model.


No comments:
Post a Comment