Mastodon

28.10.20

Tow truck 1: power transfer

The underbelly of the first vehicle

As I had the tyre sets all built, I then built the suspension / differential housing balls (could you tell how amazingly deep my automotive understanding was?), so that they too would be ready to be installed whenever needed. In addition to only single tyres that were going to be installed into the front axles, the leaf-suspension steup was slightly longer than what the rear axles were going to get. Without thinking much, if at all, about painting, I glued the double tyres into the rear axles.


To the frontmost ball a short driveshaft was installed to connect it to the torque converter (got the name from the instructions). At this point I spent a fleeting moment if I should've painted these subassemblies separately, but as the whole damn thing was going to be 99% olive green, I just plodded on.


As usual, I dry-fitted the front axle and -wheels to their places, but for some reason at this point I recognized the pain point of painting. That wasn't going to help much, for the rear wheels were already there, making the process a bit more bothersome.


The frame got a couple of boxes attached to it, the larger was the fuel tank. The smaller box was unspecified, so from my point of view it could've been used to carry the jack, for example. "Toolbox" was pretty much as much details as I got.


Next thing was the rear drive setup, the complex that was made out of the leaf springs, the ball of differentials and whatnot, and the tyres on axles. This set was also connected to the torque converter by a driveshaft. I guessed this was pretty much how heavier wheeled equipment had the habit of working, I just trusted the instructions as being more knowledgeable about these things than myself.


21.10.20

Weathering the metallics

A metallic weathering session

I guess I had complained clearly enough that the metallic pieces could not stay steel-coloured. They wouldn't have been any better in aluminium, like the instructions suggested, if you asked me. Luckily I hadn't been silly and painted them all with chrome, that'd looked even stranger.

The first photo of the series showed a number of scratches on the rear end of the carriage. Those came from dry-fitting the lifting fork earlier. The piece went on nicely, but getting it out almost required some loud swearing.

Oily Steel

My weathering process started with a heavy-handed drybrushing of oily steel (VMC 70865 Oily Steel). The steel basecoat was so slippery that this paint didn't really stick on with a gentle touch, so I had to take this more seriously than I originally intended. Especially the loader's slide for the grenades was going to need some more work later on.

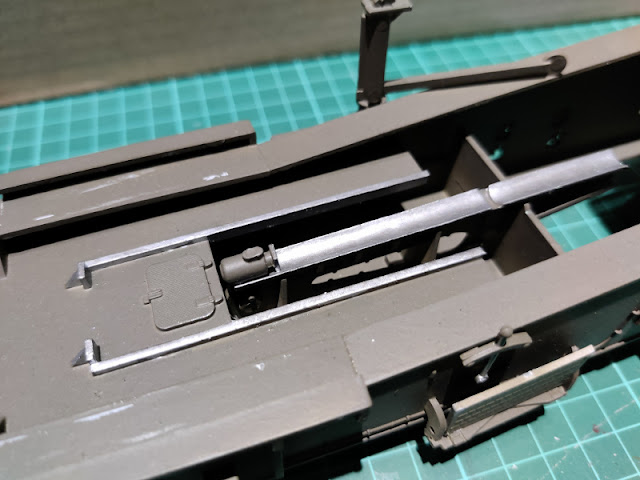
Oily steel highlights on the loader and the rails

The cannon's barrel's middle segment looked somewhat better after it got oiled, even though the effect was still a bit light for my liking. This was a good direction.

Oily steel highlighting on the barrel's metallic section

The lids of these who knows what hydraulic liquid containers and the strange rails also ended up looking somewhat more normal after a bit of oilying, but still the problem was that the change was quite small. Still, the worst edge of the bling had been dulled, but it clearly needed to be toned down even further.

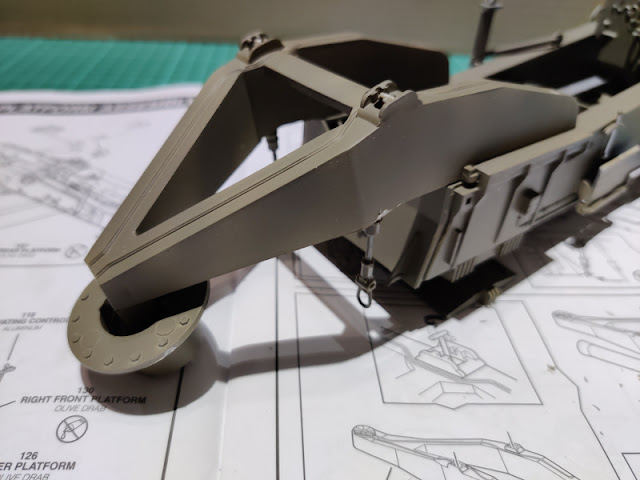
Oily steel highlights on the front of the carriage

Gunmetal Grey

As the steely engine covering plates of the Flanker had gotten much more better-looking with Gunmetal, I took that paint out next. The rear-carriage's metallics got nicely darker again, but still I was thinking if a brown or black wash would be needed in the end.

Gunmetal highlights on the loader and the tracks

The barrel's look definitely improved now, its surface wasn't an even, steely-shiny fresh piece of metallic plumbing, but a bit more worn and something that had seen some life; repeatedly greased up, cleaned up, then regreased for storing, and cleaned up again for a firing that was never going to happen. Again, a really good direction for this part of the cannon.

Gunmetal highlights on the barrel's metallic section

Guessing that the same cycle of being treated with the same products was what happened to these front-carriage's bits. Mere gunmetaling didn't bring enough "lived in" feeling to this area, in my opinion. Especially the snowman-shaped lidset was practically crying for some disgusting weathering liquids on it (perhaps the VWE series' oil stains and such would be at home here).

Gunmetal highlights at the carriage front

Of course before any sort of washes and weathering effects I'd need to fix a couple of pieces, blast a couple of shades of brown to filter the whole construct to look a bit more like it had been in the deserts of Nevada for the Operation Upshot-Knothole.

14.10.20

Forks and tyres

Transport mode-ing

I began assembling the lifting forks as the cannon was pretty much completed, build-wise. The fork for the rear of the carriage I had already prepainted once, so that fixing it would be hopefully easier. This lifting fork was a simple being, the massive block just needed a free-floating truck attachment thingie and a couple of rods with loops to lock the setup into the rear end of the gun's carriage.

Of course I dry-fitted this setup onto the carriage, as you could tell by the images. Those loops were supposed to catch on to the hooks in the bottom rear end of the carriage. That was not the case right now, based on a quick try and an honest attempt to steer far away from any violence.

The rear fork

Dry-fitting the rear fork

After the fork was done I proceeded along the route and assembled a pile of tyres. The amount required was borderline ridiculous for two silly trucs, but I assumed this was how heavy (wheeled) vehicles worked. So far this was the second time I was working on such a vehicle, so bear with me.

Truck tyres

The build order of the instructions felt a bit weird because it wanted me to build the tyres just when they were needed, but I felt it quicker (and less annoying) to just get the cursed things out of the way straight away. So I went on my merry way and did the needed single tyres, then the double ones. Now they'd be ready to be put in place when I needed them.

A double- and a normal wheel set

As I had not peeked that much further to the future steps when I was painting the last time, I hadn't thought of painting the other lifting fork as well. This second fork was much longer than the other one, but didn't make use of a axle pieces at this point.

Lifting forks and the full tyre-set


7.10.20

Cannon assembly

At last I was in a stage where I could glue the cradle of the atomic cannon to its carriage. Getting the left axle mounted properly was surprisingly tight, now I'd had some use for a vise or something more modern.

They may not be too clearly visible in these photos, but I also attached the foldable step things that I had painted in their sprues earlier. Somehow I had gotten the impression that they were going to be turnable open/closed, but no. I quickly tried as an example to check if one of the large ones could be easily set in to the firing mode, but that didn't work (and I was concerned about breaking the tiny hooks), so I set the full sextet into the firing transport mode.

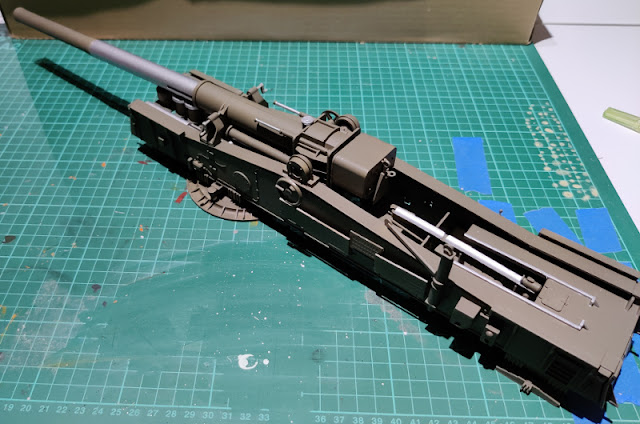
Atomic cannon assembled

Atomic cannon assembled

Before anything else got done on the cannon itself I was going to have to attack the metallics. The boom of the shell lifter could also benefit from a bit of detailing in the shape of a rope, but I wasn't quite sure if I wanted to depart from the OOB route.