Transport mode-ing
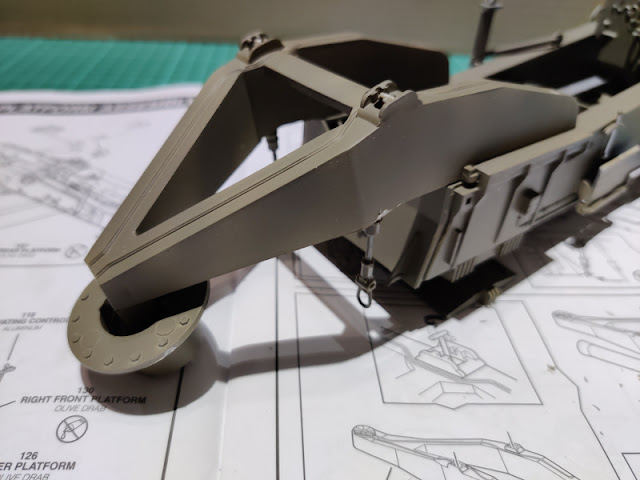
I began assembling the lifting forks as the cannon was pretty much completed, build-wise. The fork for the rear of the carriage I had already prepainted once, so that fixing it would be hopefully easier. This lifting fork was a simple being, the massive block just needed a free-floating truck attachment thingie and a couple of rods with loops to lock the setup into the rear end of the gun's carriage.
Of course I dry-fitted this setup onto the carriage, as you could tell by the images. Those loops were supposed to catch on to the hooks in the bottom rear end of the carriage. That was not the case right now, based on a quick try and an honest attempt to steer far away from any violence.
After the fork was done I proceeded along the route and assembled a pile of tyres. The amount required was borderline ridiculous for two silly trucs, but I assumed this was how heavy (wheeled) vehicles worked. So far this was the second time I was working on such a vehicle, so bear with me.
The build order of the instructions felt a bit weird because it wanted me to build the tyres just when they were needed, but I felt it quicker (and less annoying) to just get the cursed things out of the way straight away. So I went on my merry way and did the needed single tyres, then the double ones. Now they'd be ready to be put in place when I needed them.
As I had not peeked that much further to the future steps when I was painting the last time, I hadn't thought of painting the other lifting fork as well. This second fork was much longer than the other one, but didn't make use of a axle pieces at this point.


No comments:
Post a Comment