Bombs on the side(s)
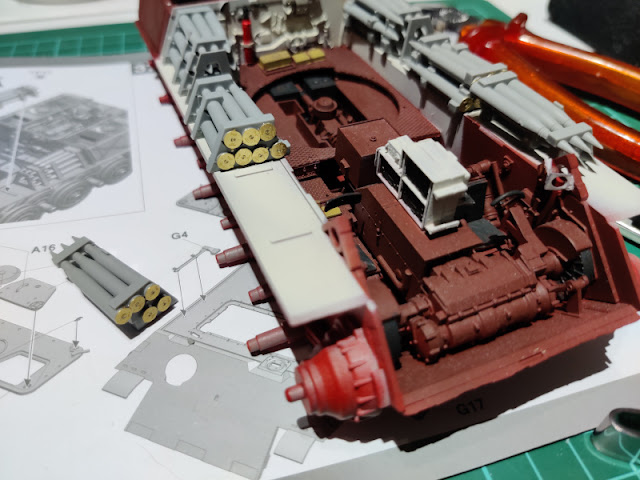
At long last my tank was advanced to the stage where I could return a couple of pages back to the combat compartment's stuff. The "shelves" were missing the ammo, but not for long!
Evening 1
First I glued on the small support pieces that were going to live between the two rearmost ammo shelves. The next half an hour I spent by detaching the shell/shelf levels and scratching the excesses off. Just piled together in place they looked pretty good already.
Photoetchies
Each of the shells got a PE bit into the bottom, that had the necessary markings and the detonator (I was a bit uncertain of the translation, here I was referring to the small explosive that is triggered by the firing pin and that sets off the propellant). Afterwards I noticed a few excess strips of metal that I had definitely not seen with my bare eyes.
Evening 2
This second evening was the same but mirrored. I cut off the pieces off the sprue, cleaned the flash off, detached the required amount of PE discs and started supergluing them in place. Interestingly enough the time consumption was more or less constant, as it took all the time available. Luckily I again managed not to superglue my fingers together, to the model nor the PE pieces.
Dry-fit
What a sight that was to behold, even with the ammo racks being unpainted. Speaking of painting, getting that done was most likely going to take a good amount of time. At this point I was thinking of at least three, maybe four (shortish) evenings spent with the airbrush. Then we'd add a bit of time with paintbrushes, which'd bring up the total to a noticeable amount of time.


No comments:
Post a Comment