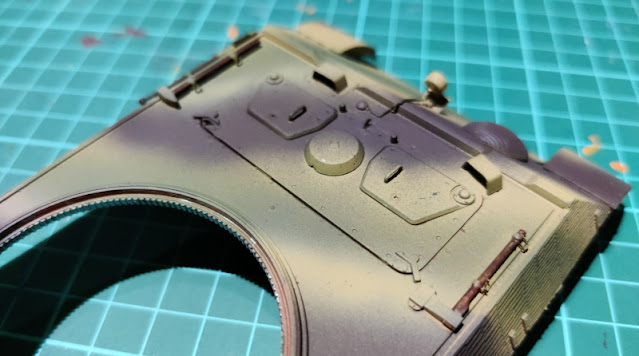
Shovels and other sledgehammerlikes
With the camo business out of the way I started on the deck details, this time meaning the wooden parts of the engineer tools. On the front deck we had an axe, a sledgehammer and a shovel. At the rear deck, next to the fan we had some pruning shears, or most likely something to cut barbed wire instead but the hell if I knew how to call those. Each got their handles painted dark brown (the VMA's Mahogany I had used previously). I thought I'd drybrush some lighter brown later to get a bit of the wood effect.
Each of the metallic attachment bits I left untouched, so they remained camouflaged. Earlier I had thought of leaving all the solid bits dark yellow, as the tank's basecoat was, to make them look separately painted, but it didn't sound good enough now.
Black metal with wood
Each metallic bit got painted with the metallic black. On the first round I forgot, of course, that there was a metal rod on the right rear edge of the tank, as you could see below.
I wanted the fire extinguisher to be a bit more subdued on the outer deck than inside the tank. That's why I basecoated the tool with the interior's red-brown instead of a bright red. Then I painted the bands and the valve thing with the metallic black.


No comments:
Post a Comment