Wishy-washy
My paintjobs were so amazingly beautiful that I almost felt bad to start the weathering process.
Again I was going to try out another mr Savage's hobby hints. Instead of carefully applying limited amounts of washes and letting them be, I was going to apply a good amount and then wipe off most of it. Done by a real pro it looked fantastic, I wasn't expecting mine to end up anywhere in the same universe.
Vallejo Model Wash 76518
I skipped the old and most likely mostly dried up Citadel's black wash (couldn't remember which one had been too thick years ago already), instead I took Vallejo's black one out. A perceptive reader may have noticed that I've been working in a kind of an assembly line way throughout the project, always starting with Timber Wolf. Now I applied a healthy amount of thin, black paint onto all the places that I wanted to darken compared to the surroundings.

As soon as I had iterated through all the holes and vents, I used a piece of kitchen paper to dab off most of the paint, running in the same order than I had painted. The interim result was darker but not as overpowering as the freshly applied black wash in the previous photo (it'd calmed down a bit while drying, but still).

Following the same principle I went through the rest of the units. I mostly darkened any and all vents, Heat Sink -like bits and other joints. Whatever looked most like it would benefit from darkness, got it. Each of the gunmetal surface was included on this list.


I quite liked the subtleness of the effect, this was going to remain in my toolbox. Thanks again, uncle Savage!
Vallejo Model Wash 76512
To improve the camouflage pattern, I was going to do another washing round, this time with Vallejo's green. This time there were more and larger surfaces to treat, so I decided to work subsection by subsection. First victims were the Timber Wolf's CT and head. The difference was pretty noticeable, both in shade and the panel lines.

Again I took off most of the green wash with the kitchen paper, what remained, remained on the mini. The result on the mini's surface was much more gentle.

As a whole the Timber Wolf looked better, even though I couldn't say directly how it actually differed from itself about ten minutes earlier.


Like before, I followed my path: first applying the wash on a part or two in one go, then immediately wiping off the paint. I didn't take photos of all the parts and stages, as I felt that for process documenting purposes these were more than adequate.


Washed vs unwashed
After this one session I had three 'Mechs and one Elemental Point ready, two 'Mechs and the other Elemental Point waiting for their turn, providing something to compare to. Here the effect of my mostly removed green wash showed quite a difference after all. A positive difference, I might add.


Wrapping up the insignia
With the washings done and dry, it was a good moment to finish up the Clan insignia. The first bits were the sword-grasping talons for the Falcons, then the beaks. Each painted with the same yellow (VMA 71033) that I had used before.


Blackness
Something had remained bothering me in the rocket plumes. I took some black and drybrushed it gently, especially to the oldest and outermost, the most cooled down parts of the expanding fireballs. Maybe that improved them somewhat.

While drybrushing I attacked the Executioner's Gauss cannon to look a bit less fresh, even though I knew perfectly well that it had no reason to look sooty. In my opinion the barrel just looked too clean and fresh.
My experiments in this project had gone disturbingly well, so I felt brave enough to try out something else the next time I painted. It was only an Executioner, after all, nothing cool that could be ruined with a silly mistake.

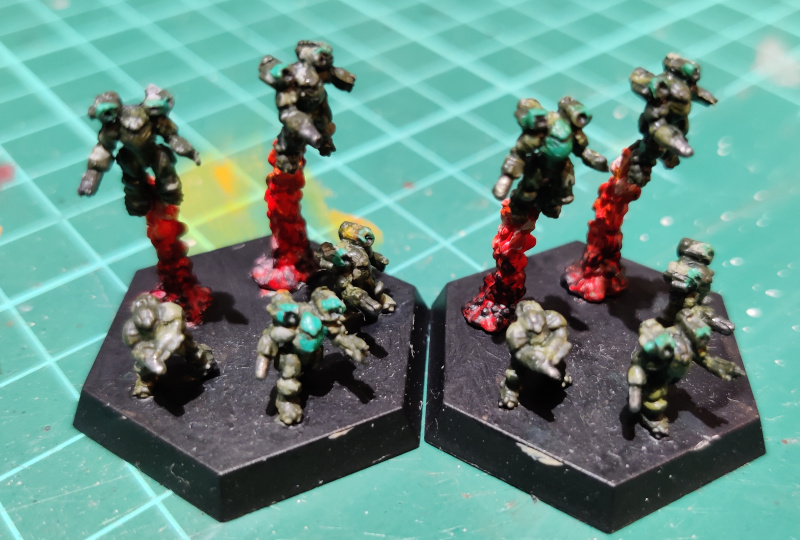
Group photo n+1
Yet another WIP group photo to celebrate a finished stage. Progress was quick and enjoyable.


No comments:
Post a Comment