Running gear
First of all I ensured that I had found the 8B graphite pen I had bought in early '23. Yes, I had, it was stored in a place where I could now actually find it.

I used the pen quickly on all the contact surfaces of the drive sprockets, idler- and road wheels, and then simply blended the graphite with my fingers. The idler wheels I had glued in earlier, but luckily there was enough space around them for my fingers.
From what I saw the graphite surface behaved pretty much like I expected, especially when comparing to the observations (and a healthy directoryful of reference photos) I made last summer in the Armour Museum in Parola.


These photos were actually useful, they revealed a couple of forgotten oil wash stains.
At this stage I only treated the inner loop of the tracks. I used the pen on the guiding teeth/horns and a line along the lenght just on both sides of the guides, to pretend they were worn clean by the road wheels.
Looking at my own thoroughly dirtified fingertips I thought that before washing them up, I could use them to do some soft graphite effects on the rollers. I spun those with my fingers, poked around and what got stuck, got stuck.

Installing the vinyl tracks
I started installing the tracks on the right side. Somehow I had in my mind that the vinyl track was going to be annoying to install so I had left all the roadwheels unglued. My idea was to hold them inside the track loop and then just glue all of them in one go, then finish it up with the drive sprocket.
Here I had so much space, unlike with the last tracked model, the Jagdpanzer IV, that I could actually glue them all in and just pull the track into place with the drive sprocket.

Once again using the right side's example I was quicker with the other side. As an entity the tank looked much better again. Had I glued the idler wheels last, I could've made the tracks tighter and look better, because that's how the tension was adjusted but those things were too flimsy for my comfort.
And at this point my homemade antenna finally came off with all the rotatings and whatnot. This wasn't serious damage, I'd just reglue it at a calmer moment. I had to admit that being wary of the antenna had been getting a bit old, I just didn't want to break it off on purpose.


Like I've been lamenting for a while the rear end was going to need an amount of mud to look less horrible. I was so very disappointed in this rear edge, I had difficulties comprehending it. None of this got any better with my crappy filling skills.

Vallejo weathering mud
To mess up the tracks and especially the rear end I used to different Vallejo Weathering Effects. First Mud and Grass (Environment 73826), then European Mud (Thick Mud 73807). Both had gotten a bit thick but got spreadable with a few drops of tap water.
Giving a few days of rest was a good thing for my oil washes, the shininess had gone down quite a bit. Again I took my photos in a different place, at a different time, and with natural light instead of LEDs.


The mud was pretty nasty-looking, as it was supposed to be.

I kept the front of the tank much clearer. Just in case I left the mine rollers pretty much as they were, I was way too much of an amateur with these and getting something that complicated was not something I wanted to even think of undoing of mud.

Road wheels also got off lightly, I poked some mud in to give some extra texture. There was an amount of muck in the sides of the tank's armoured tub but that wasn't going to be really visible behind the running gear.

I did try to collect some crap to the sides and the different mud traps of the roller setup. Here, too, I used the mud materials mostly for surface texture.

Just like that I was out of time, and had to leave the mud to dry. Thanks to life being life it took me a good long while before I could continue on the model.
Abteilung weathering oils
Well, I had a few of these weathering -themed oils, from light to dark earth and I started by mixing a bit of Light Mud (ABT125) for my tracks. Maybe I should've made this stuff really thin, to get the crevices more covered, now they just ended thickly mudded.

To go with the dry stuff I made a tiny amount of darker mud and made it wash-thin (ABT130 Dark Mud), applied it as spots here and there. This weird mix I then blended to see how it looked like in the end. Spoiler: it looked muddy.

Checking the next day the tracks looked much calmer. With some more time to dry behind us, I used the graphite pen on the edges and ridges of the tracks. No photos were taken of that.

Then I made some thin engine grease (ABT160) and used it on some of the road wheels to try to get a bit of a lubricant leak look on them. I had pretty few places I wanted to use this on, but to make those bulky boxes a bit more interesting I used the oily stuff on the little things on top.


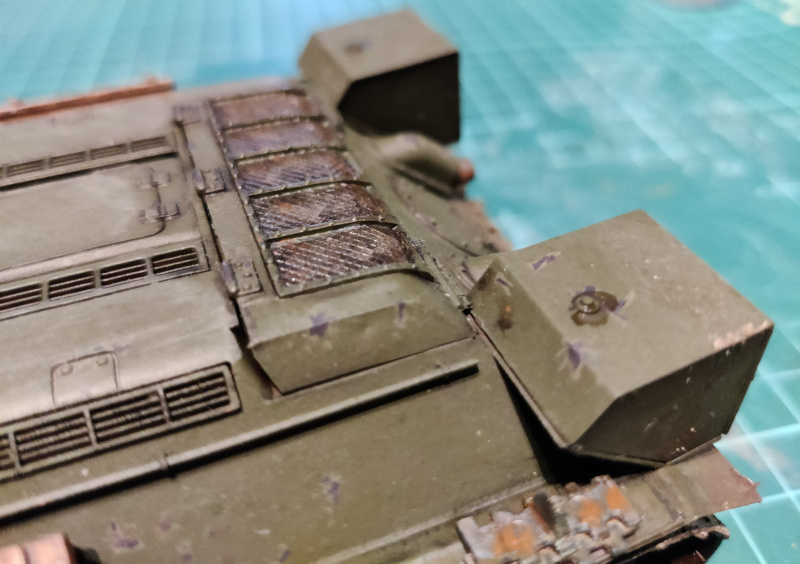
At this point I didn't go for any dot filtering, but in my mind's eye using some buff (ABT035) on some key pieces on the top worked nicely. I tried to contain myself and applied the buff dots on the centerlines of some engine deck panels, front fenders and the upper edge of the front glacis plate.

After the first blending and an overnight drying the buffed effect was too strong for my liking. So I blended it some more to take it down a notch.

Readyish?
I started feeling that my tank was just about done now. Looking at the photos I took around the tank made me think how much of a difference had I actually made with all this tinkering. I expected to find something else to fix in addition to reattaching the antenna, painting the front shovel clamp and the light. If there wasn't anything else, the next week's post would show the completed model, but if I had enough to work on, there would be a short post in between.

 |
| Note to self: fix that grass turd hanging from the left fender |


Comparison photos
The angles weren't exactly the same and the lighting conditions were also different, but you could do a bit of a side-by-side comparison. The key changes happened on the overall green, the piece details weren't that much of an important change in a way.

No comments:
Post a Comment