Model four
My calendar was in such a state that had I shared this project into a post per modeling session like I've done a few times, the content might be split into single sentences at worst. Instead this project is going to be written about in some sort of larger entities, made up on the go.
Following the instructions
Even though this was my fourth Panzer IV frame (an unpainted Hummel, Sturmpanzer IV, Jagdpanzer IV), I was going to be nice and follow the instructions as I didn't really know where to take shortcuts and which made more sense in which stage. That was assuming there were such things where I would strongly deviate from the modelmaker's suggested approach.
Photoetch bits first
The first thing to notice was that the Panzerwanne, straight out of the box, was in a state that in earlier models had taken a good bunch of steps to get to. Now I got to start from these PE hatches to the engine's vents. Somehow the instructions were a bit strange to me here and I could've easily done them a bit wrong. The superglue I had at this point was stupid to use (what it had was not a fine nozzle) so I had to twist some wire to make an applicator that allowed me to use tiny dots of superglue instead of massive globs on, over and around the pieces.


At the same time I also assembled some roadwheels, and two of the jerry cans. Of course I hadn't seen a live jerry can in 23 years so I didn't remember how the lids were to be.

Hatches, tools and return rollers
The heavier work on the lower hull started showing when the front edges of the combat department got hatches, the jack block, a couple of hooks and I wasn't entirely sure what the half-cylinder was for but I guessed it was related to airflow based on the position. Of the barrel cleaner options I just randomly chose one and glued it on.


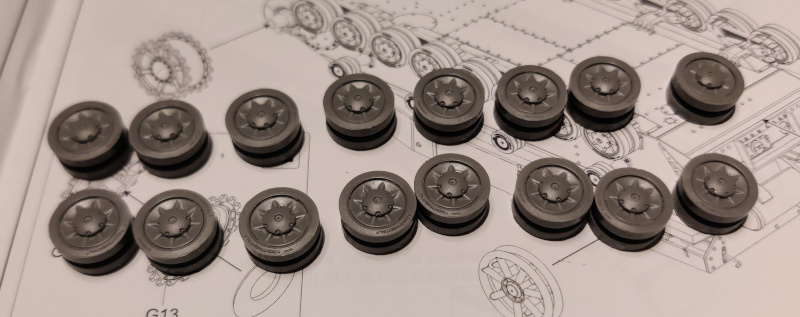
Now the mechanism started turning out: first I installed the things by the drive sprockets and the bogies' stoppers (the little disks along the bottom edge) and built the return rollers that even had maker markings on the rubber parts.


After this I built the bogies with their leaf springs, four per side. Something struck me funny about these and their instructions, but that didn't stick to my memory as I built everything via dry-fitting anyway..


During that same evening I had the time to assemble the roadwheels that each indeed had a more or less readable Continental text, unlike in my earlier builds. I remembered reading ages ago of a higher-pricepoint model that had an extra line on the embossed letters to avoid being sued.


From the wheelsets I moved forward to the rear of the tank and its rear armour plate, where the first piece was the exhaust pipe / barrel and the track tension adjusters. In these first photos the armour plate was upside down.


While attaching it I managed to lose the other L-shaped bit from the middle of the plate. No idea when or when this happened.


Now I encountered the first larger change to be done based on which variant I had chosen. Of course I hadn't thought of it that much so my randomizer song ended on F2 with its ball-shaped muzzle brake. To make that version, I had to violently undo some extra bolt-on features.


Fenders and more tools
Now the instructions told me to start installing various and numerous tools onto the fenders and this made me believe that the lower hull was more or less done. While working on the tools I frog-jumped back and forth to give the freshly glued bits a bit of time to cure while I started on others, the instructions were pretty weird here. What was optional and which were optionals together and which didn't align with each other? It was clear that not everything could go on as instructed.


Because the instructions were odd, I just chose what I fel tlike and then added the front and rear flaps. With those cured I glued the fenders onto the hull. These bits had a pretty neat anti-slipping texture and even the flipsides had textures, even if they were not going to be seen in this build.


My model four felt like it was progressing with leaps and bounds now, but much of that came from the incredibly far-prepared Panzerwanne that I started with. All of this so far had taken a handful of real world hours, much of that time went into cleaning up the pieces.
Early thoughts about the assembly
First of all I had to praise the details here. The bits have been fantastic.
The only complain-like thing I had about the model itself so far was the amount of cleanup required, below's a photo of the deck piece with pretty hefty channel residue. They weren't bothersome where they were located in this case, the worst ones were inside the track tension adjusters where nothing would've fit if these chunks remained. Each of these has gone away without swearing and they've only consumed some time, not nerves.
After the cleanup the pieces have fit together very nicely and there haven't been any problems. All the bits have also found their places well and without guessing or much fiddling. Like I said, great stuff so far.

No comments:
Post a Comment