A slightly quicker building post
Like you may have noticed the bottom hull was a large assembly and came with a long post, so I thought I'd compensate by writing a tiny bit simpler post of the rest of the hull, and leave the turret as its own episode.
Previously missing armour plates
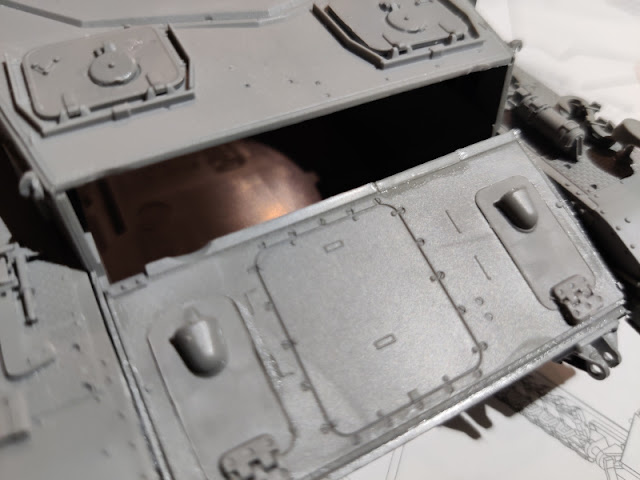
To keep the driver and the radio operator safe, I glued on the hatches with their little subhatches on. I could almost see how the rain water or slush gathered into these crevices. Brrrr.
Oddly enough the deck didnt' get absolutely anything else on it at this point, so I got to glue it onto the hull. Learning from the past I did this in stages to avoid gaps.
Then I glued on the upper front glacis plate that hopefully kept the incoming shells from the lap (or face) of the driver. A couple of hatches for break maintenance got glued on, and these little cupolas were protecting the air vents of the brakes. Funny things you learned while playing with plastic.
Into this gaping hole I needed a vertical armour plate with driver's periscope and the radio operator's scythe. This ball-joint MG was cool and to my great surprise I managed to build it so that it was still movable.
The armour plate went in place nicely and without arguments. Thanks for the cooperation!
Bottom decoration
Even though no one was going to look – apart from some photos – what happened underneath the tank, I did add the bogies' bolts. This was an interesting approach: in the upper edge of a double sprue there were some bolts that were to be sliced off and then glued in place. Had I been smart, I'd taken a fresh blade in use.
 |
| These from here... |
 |
| ...onto these attachment points |
 |
| One at a time |
 |
| 10% complete |
 |
| 50% complete |
It was some accurate stuff. A couple of these bolts got lost or broke due to miscutting, but luckily there were a few spares. I think I was left with two unused.
Side pieces
Maybe these were safer to install after the deck was glued on, on the other hand I didn't see a reason to hoard some of the tools over a couple of steps. On the right side of the tank I installed a shovel, a thingy for the antenna to rest on, and the antenna itself. That one could've been installed standing proudly but I felt like pulling it down this time.
On the left side I added some more sticks that also blocked the installation of some of the optional tools like the shelf for spare roadwheels. This was exactly what I would've liked marked much more clearly: what prevented which bit and what could you freely choose while building?
The hull got assembled pretty nicely so my hopes for the turret were pretty high.


No comments:
Post a Comment