A mystery moment
Some three weeks ago I got a delivery notification into my inbox. There was nothing unusual about that, I just did not expect anything at that moment. Being slightly tinfoil-hatted I checked the message a couple of times but nothing, besides it being unexpected, raised any red flags. The next day I went by the kiosk to ask if I actually had a delivery. I did indeed, and I received a simple brown cardboard box.
Late from the Kickstarter
The situation was as clear as day as I moved away the first half of the lid. A couple of years ago I had in some incredibly perverse way missed the Kickstarter project altogether (my false memory claimed I had taken part in it, but as BTCI was not in my Backed Projects list, I clearly had not). Luckily I had found somewhere a link to the "you can still take part" thingy and in my frenzy participated at a Star Captain level.
After that I forgot the whole project, and as I was not in the Kickstarter list, I also did not get any of the "the shipping starts in the late summer" messages and whatnot. Not that I had a habit of actively following any of my Kickstarters anyway, as I was not running out of stuff to tinker with or listen to. This led to happy random news every once in a while, when a Project was done and shipped.
I think I was wishing that Catalyst was going to do a Clan Invasion box back in the day when I bought the BattleTech 30th Anniversary box. Now that I was thinking of it, I checked my old posts from a decade ago and could not find such a comment anywhere. How uncharacteristic of me, to leave obvious things unsaid.
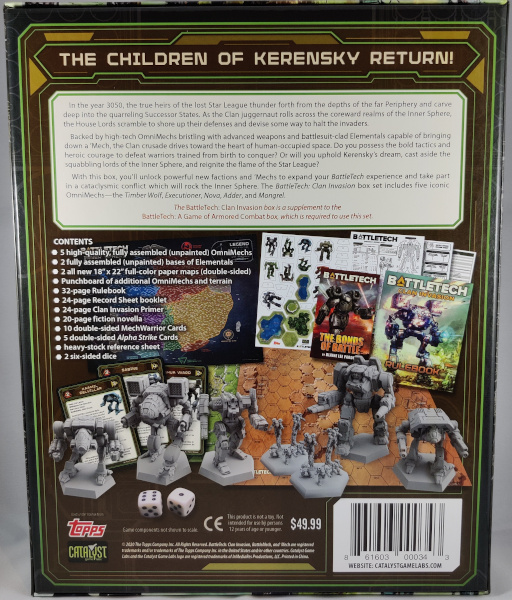
Invasion box
A Timber Wolf busy blasting the Freebirth scum, what else would a sane person want and need as the cover art of Operation: REVIVAL -themed box?
Funny thing, the Anniversary box from ten years ago contained those six Lances of strange material -made BattleMechs (24 + 2 awesome Clan OmniMechs as an extra) with sturdy maps, posters and such. Comparison was easy to start with the minis: this had a Star of OmniMechs and two Elemental Points. At a first glance the material of these minis seemed good.
Starter Star
Dictated by the weight classes of its units (it contained all four) this Star was, also checked from Sarna.net-provided table below) an Eyrie Star. It would have been fantastic to get a Nova out of these, but one could not have everything.
| Talon | Assault Star (Heavy to Assault weight Battlemechs) |
| Beak | Battle Star (Medium to Heavy weight Battlemechs) |
| Eye | Striker Star (Light to Medium weight Battlemechs) |
| Eyrie | Mixed Weight Star (Sometimes classified as Beak) |
Executioner
This 95-ton Assault OmniMech had never been high on my "cool Mechs" list, because instead of their specs I have based my opinions of the hardcore metal truth on their feel. I was the first to admit that to me a cool (or symphatetic) look and feel ranked higher than a spreadsheet-requiring throughput. Perhaps there was noticeably more of a RPGer or a storyteller than I had dared to admit to myself.
Despite my complaints I already had some Executioners and their siblings, Gargoyles. These things fit into the Touman, so I have obtained them.
 |
| Executioner Prime |
Timber Wolf
If the Point above did not make me excited, the 75-ton Timber Wolf that had been a top name for me since I first saw the box of Mechwarrior II. This one also has a versatile weapons setup, so it has never been a boring one to play with. Besides, it looked fantastic!
 |
Timber Wolf Prime
|
Nova
From the medium levels the fifty-ton Nova was strongest in my memories with a narrow torso twist arc, and a single encounter with a Nova Prime and clicker-counter that we used to keep track of 12 MLas volleys. Especially the declarations of "Alpha strike!" and suffering mutterings of the pilot were something to enjoy.
 |
Nova Prime
|
Mongrel
Another medium, this 45-ton thing was a new entity to me, but I really had not memorized all the lists anway. Sarna.net knew to tell me that this model had its first combat operation in Tukayyid. Maybe one of those would have ended to my Jade Falcons via active Merchants, which was to me a plausible explanation for a yet another unusual OmniMech.
 |
Mongrel Prime
|
Adder
Lightest of the five, the 35-ton Adder was somehow familiar to me but it had not been on my shopping lists/baskets, as the Cluster I had chosen so many years ago leaned to the other end of the weight scale. Anyway, the Prime had a double ER PPC and a flamer, always a pleasure, on a runner. Nothing to sneer at.
 |
Adder Prime
|
Elemental Points
The pleasantly dynamically posing Elementals were clearly redesigned, the battle armour was much more modern now. These two-meter-tall muscular gentlebeings with their jump packs, twin SRMs, SLas + MG setups were instantly recognizeable. I really liked the two jumping pointmates to also visually remind that these people were not just plain armoured infantry.
The rest of the box
Clan Invasion Primer
As the name suggested, this was a booklet that gave background for this whole invasion business. Among many other things it also shed light on who was to be thanked for the Operation to finally begin, after years and years of fleabags trying to prevent it.
Rules rule
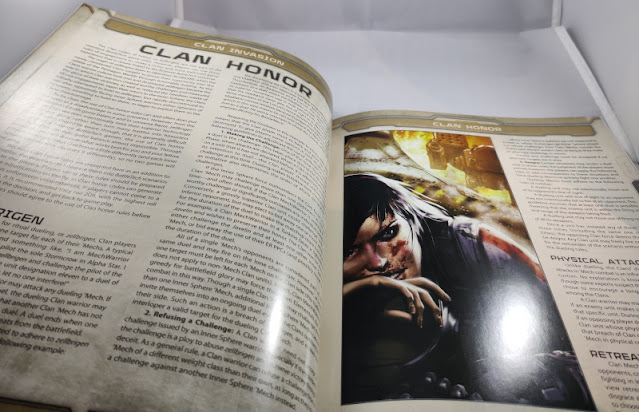
In addition to the BattleTech rules there was also lots of fun background stuff. That was always pleasant to read, this sort of stuff fleshed out the universe. I had only really hazy remaining memories about the Clan Honour rules, so I ought to take a good look at them again. We never fully used them when playing with the full gang, for whatever reason.
The Bonds of Battle
This short story by Blaine Lee Pardoe I dropped into my "to read" queue, even as I had this idea that I was not specially fond of his BattleTech novels when I read the main story. Then again, comparing anything to the Blood of Kerensky or The Legend of the Jade Phoenix trilogies, the results were going to be gently skewed.
Tokens
In addition to the plastic OmniMechs there were some two-sided carboard OmniMech tokens, because you really could not get much of a fight started with just five units. With a total of three Stars the amount of warwafe would be completely on a different level. The map-modification hexes were also a neat touch, you would be able to improve or "improve" the basic maps for variety or challenge.
Maps
The two-sided paper maps were: Hilltops #1 / Barren Lands #1 and Rolling Hills #2 / Barren Lands #2. I really could not remember what the 30y-box contained, but these looked familiar, nice terrain for some stomping and shooting. Comparing to the decades-old copies of these maps these had the height differences much more clearly marked.
Alsø
There was also a stack of pre-printed Record Sheets, Alpha Strike and pilot cards (for quicker gaming, I understood), dice, always a very handy quick reference guide, and a Map of the Inner Sphere -poster. None of these were specially photogenic so I did not take photos of them here.
Extra stuff
This main invasion box was not all that the Postnord box contained, there was a small invasion of tinier boxes as well. This was the rest of the crowdfunding campaign stuff, of the physical variety (I had a handful of ebooks and other digital goods that I just had not had the time to check in all this time).
Tukayyid the accursed
Of course I could not remember what kind of a general multistage selection process I went through when I chose what I got as extras, but I remember incredibly clearly was that at the Map Pack step I stopped reading further when I reached Tukayyid. For simple and I guess obvious reasons the wolf team -specific Pozoristu Mountains and Robyn's Crossing for Clan Jade Falcon were the most interesting maps for me. Of course I had been interested in seeing a vision of Olalla and Humptulips designed by a map artist, but as this set was divided as a map per Clan, maybe the most epic corners were the clearest (and popular) choice.


In my honest opinion the Robyn's Crossing over the river Przeno really needed a map-scale Overlord-C or Union-C DropShip. I did no remember from my last read what class and especially how the DropShip for the Gamma Galaxy was named. At least I thought it was mentioned, but after all these years I may have gotten that bit wrong. edit: The Falcon Guards alone had the Raptor, an Overlord-class DropShip for them, so the Gamma Galaxy had a number of Overlords worth of transport capacity available.
Of course there were additional rules for this set of special battles, and to emphasize the hellishness of the landscapes after weeks of fighting there was a set of firestorm/smoke tokens. Only observing these little details made me feel like taking up a new run of the trilogies following the lives of Aidan and Phelan.
Half a dozen posters
If I was honest, I could have lived happily without these. The posters were neat, but in this life situation I would have had much more use out of these as high-res desktop backgrounds as I really was not going to frame them and hang them on the walls. These nor any other posters I had, that is.
Cards and stuff
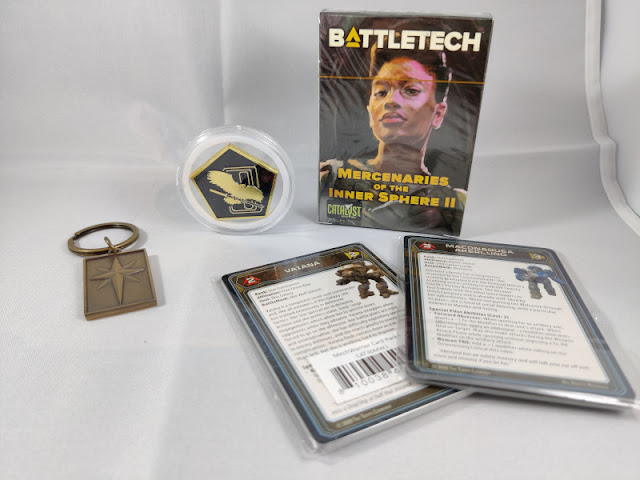
There were three stacks of cards. Mercs of the Inner Sphere, part II, and a couple of MechWarrior stacks. I did not open them up, so I just expected them to be ready-made pilots. A mysterious Challenge Coin showed the Jade Falcon emblem, as if I had any other choice. Perhaps there were a couple of different varieties of the keychain, but I evidently went with the Daggerstar. Again, as if there were any other choices.
Additional units!
At last we got to the most important business instead of silly yapping. The box contained these smaller extra boxes, three of which were complete mysteries to anyone and everyone.
SL 17 Shilone
Being a Inner Sphere AeroSpace fighter the Shilone was familiar only from the novels. Only when I opened this box I figured out why the name sounded somehow familiar. The pilot card had Tyra Miraborg, who smashed her fighter through the nose of the Dire Wolf. These sort of details had a nonzero chance of staying even in my memory.
 |
Shilone
|
Randoms +1
Right, here we had four Salvage Boxes. The first one contained a Legendary Mechwarrior and the other two a random OmniMech each, while the last one had an UrbanMech (that one I chose out of pure curiosity).
A legend: Morgan Kell / Archer
My random legend ended up being the main dude of the Kell Hounds -merc in his Archer. An Archer enhanced with some fancy Star League tech. Lasse had gotten the last Timber Wolf of Aidan "Jumping Fool" Pryde. This series apparently consisted of four people, the other two were Natasha Kerensky in a Dire Wolf and Grayson Carlyle in a Marauder. Whinewhinewhine, the Archer was clearly the most boring BattleMech of the lot.
 |
ARC-2R Morgan
|
Stormcrow
There were a couple of Stormcrows in my collection, now I got one more. At least there was no worrying about ammo consumption in a concentrated light -themed OmniMech.
 |
Stormcrow Prime
|
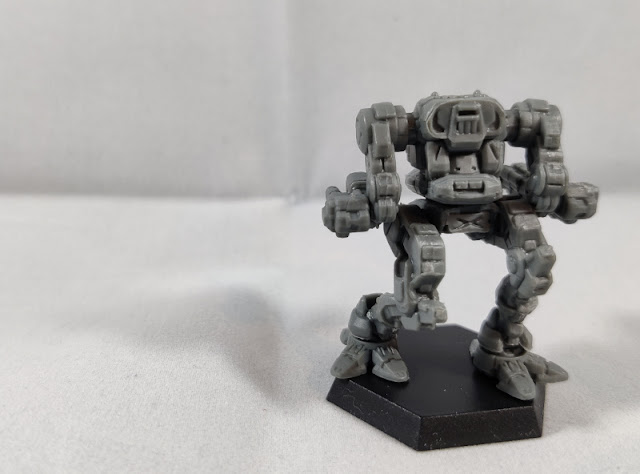
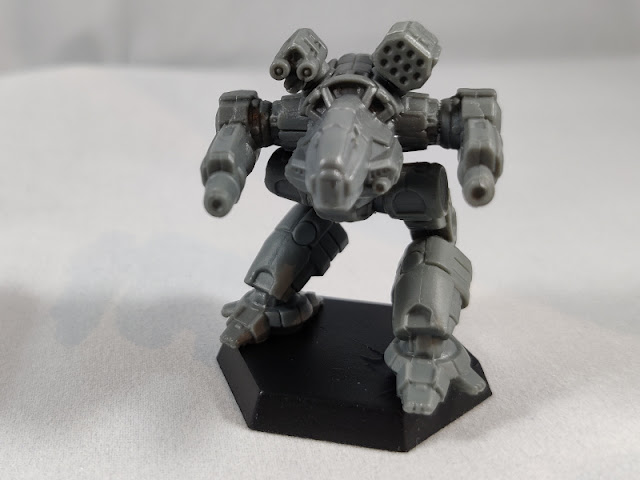
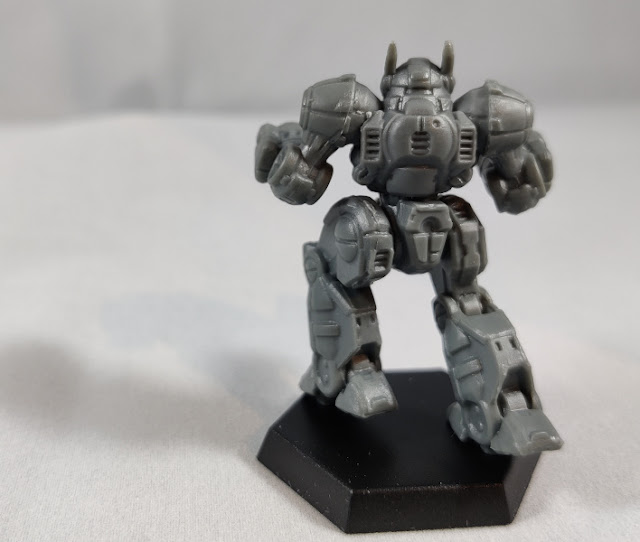
Mongrel A
Nice. The Invasion box contained a Mongrel Prime, at least this one was an alt. config A. Double LRM-15s, an ER MLas and a flashlight were included, and I had not yet checked if this one was a WYSIWYG miniature as I had built mine or more like a "let us all agree it is that thing on the record sheet" version.
 |
Mongrel A
|
 |
| Mongrel A |
Comparing to the Mongrel Prime photo I copied from up there: no changes. It remained to be seen if I was going to start customizing this to look different enough.
 |
| Mongrel Prime (again) |
Urbanmech
These thirty-ton things I have mostly heard referred to as walking trashbins. I, too, wanted an armoured, walking trashbin armed with an AC/10 and a flashlight.
 |
UM-R60
|
A heavy Star
Five glorious Pointfuls of heavy metal. Three out of five were classic IIC machines, I had absolutely nothing to say about the Supernova, and the best mental image of the Stone Rhino was as far as from the screenshots of a local games maganize from Mechwarrior II: Ghost Bear's Legacy. And that was getting somewhat old.
Stone Rhino
Yes. A hundred-ton Assault BattleMech with a pair of Gauss Cannons on the head (technically the side torsos). LPLases in its arms, and somewhere around the head area a silly little SPLas as a cherry on top. A ridiculous amount of weaponry that was, but maybe it could be a funny thing to try out somewhere (and get my ass handed to me by a dirtily laughing Fire Moth pilot).
Marauder IIC
This Reseen Marauder was quite a bit more angular than the original that was copied from some anime show and then banned (therefore Unseen) thanks to the lawyers of some company. Just like the one I built a couple of years ago.
Warhammer IIC
This Reseen Warhammer was also heavily modernized (or americanized?) from the original Japanese look to be more blocky and heavier on the paneling. The left shoulder-mounted searchlight was maybe a bit smaller and more tactically-sized. Of course it was very different from the larger-scale one I built only ten short years ago.
Hunchback IIC
After the same modernization process the Hunchback was like it had escaped from the artwork of MWO, which I thought to be the most likely source of these new designs anyway. Or MW5, but as I had not tried that one out yet, I could not really say. Somehow I have never known (or bothered to learn, more like) how to play with UAC/20s, as I was always immediately out of ammo. At least on the computer. Most likely on the board I would be paranoid and blow up after saving the precious ammo too long.
Supernova
Supernova was a clear Nova++, which might not be a bad thing. It was clearly recognizeable, just like its smaller sibling. This one just had, instead of a dozen medium lasers a half load of larger blinkers: six Large Pulse Lasers. Mmmmmmmmm... a saunalike warmachine.
An even heavier Star
If the Star above was heavy on the classics, this gang was something else. I recognized two directly, as I had IWM versions in my collection.
Turkina
Turkina as a choice of the just about heaviest of Assault OmniMechs was a surprise to me, according to my (most likely not too reliable) memory, it was supposed to be practically a CJF unit. This new sculpt was a bit less strange than the old one, that looked a bit more like a special toy than a scary 95 ton OmniMech.
Ebon Jaguar
If I had to really decide which of these Smoke Jaguar OmniMech versions I liked more, the old one was maybe a bit cooler, but this plastic one was insanely more stable and durable. For some strange and twisted reason Ebon Jaguar was maybe the only one that allowed the freebirth name to escape my lips more readily than the correct one.
Huntsman
Now we had reached the true mystery machines in my books. The Huntsman was originally developed by the Diamond Sharks, but due to some Trials it ended showing up in the Nova Kitties ranks in numbers. The Prime variant had a neat configuration, I was really happy to see it was carrying Artemis IV on it.
Crossbow
The Steel Snake -designed Heavy BattleMech was peculiar. It "only" had LRM-20s in its arms, pleasantly linked to Artemis IV. This sort of a machine would allow a pilot to do something truly strange on a battlefield.
Kingfisher
2nd generation OmniMech, from the production lines of the Snow Ravens, this was surprisingly an Assault-class OmniMech. It was supposed to be solid in close combat, which has been a bit of a splitter for me on an Assault. Either the insane amount of armour was a thing of genius at short ranges; or the slowness of the heavy machine was a practical suicide. The truth most likely was out there and these things were best to be used according to the situation at hand.


